
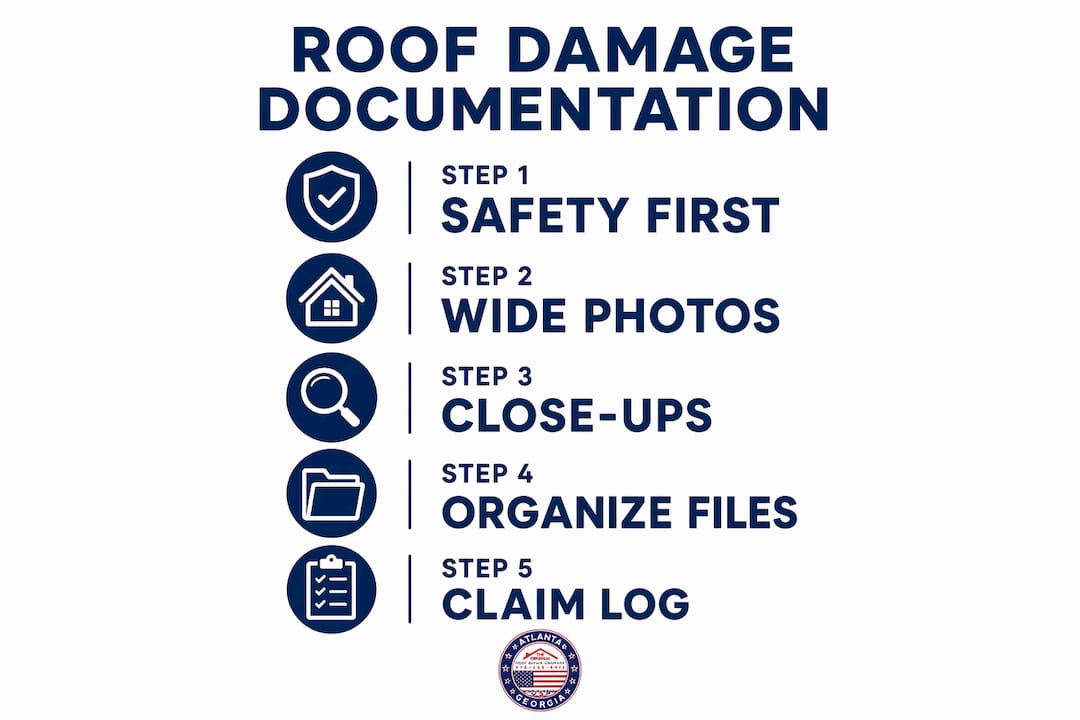
Strong roof damage documentation starts before the adjuster ever sets foot on your property. To prepare roof damage evidence photos that hold up to insurer scrutiny, you need timestamped, GPS-tagged images captured at multiple distances, organized by roof zone, and paired with supporting documents that tie the damage directly to a specific weather event. Here is what that process looks like in practice:
- Photograph all four sides of the roof from ground level before touching anything
- Capture wide-angle context shots, then close-ups with a coin or ruler for scale
- Document interior water stains, attic leaks, and drywall damage alongside exterior shots
- Record a narrated video walkthrough to show continuous damage context
- Pull a NOAA storm report to link your damage to a specific date and event
- Keep every original, unedited image file with metadata intact
- Maintain a written claim log of every call, email, and adjuster interaction
Each of these steps matters. Miss one, and an adjuster has room to dispute your claim.
Table of Contents
- Safety precautions you must follow before inspecting roof damage
- What types of roof damage photos do insurers actually require?
- How to organize and present your documentation for the insurance claim
- Expert insights for Georgia homeowners filing roof damage claims
- Key Takeaways
- What most homeowners get wrong about roof damage documentation
- The Original Roof Repair Company documents storm damage so you do not have to fight alone
- FAQ
Safety precautions you must follow before inspecting roof damage
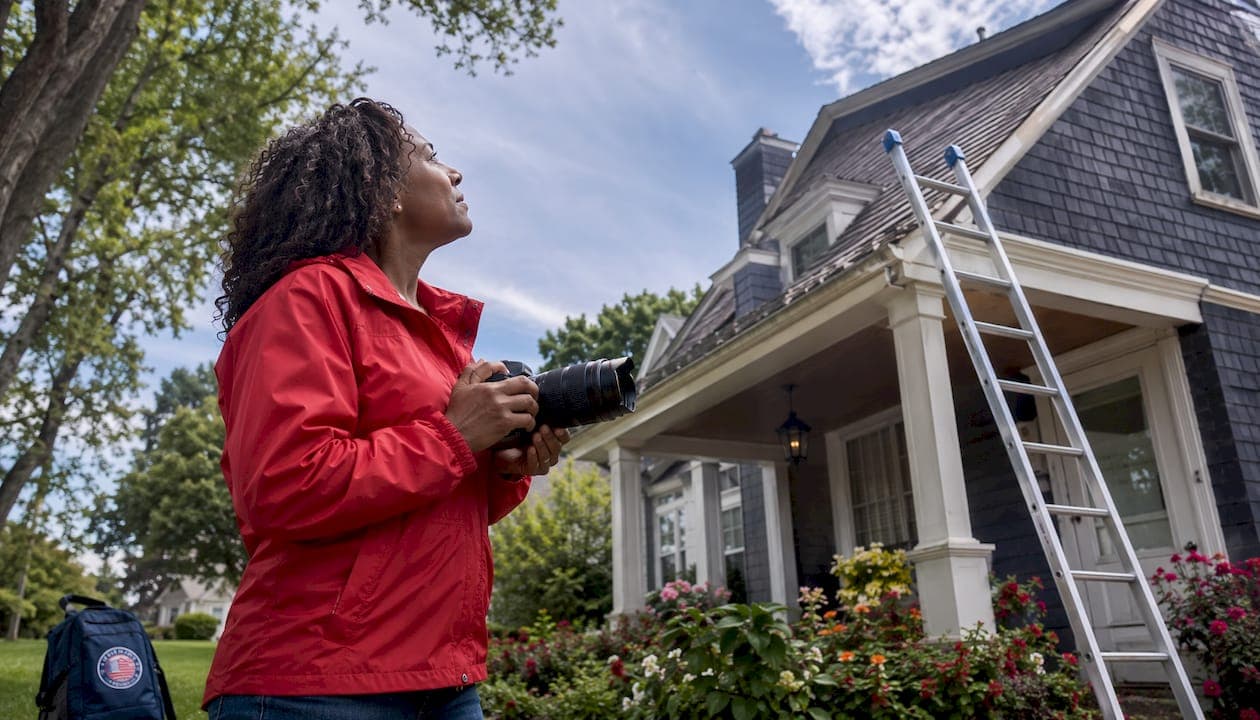
Never climb onto a damaged roof to take photos. Roof decks may be compromised after a storm, and wet or structurally weakened surfaces create serious fall hazards. Ground-level photography with a camera's optical zoom or a drone is the standard, safer approach for initial documentation.
Before you step outside, check for downed power lines, broken gas lines, and standing water near electrical panels. The NAIC Post-Disaster Claims Guide recommends confirming no active safety hazards exist before inspecting any storm-damaged property. If your local authorities have issued a return advisory, follow it.
Once the area is clear, do a full walk-around at ground level. Look for obvious missing shingles, displaced ridge caps, sagging gutters, and debris on the ground. This preliminary pass tells you where to focus your camera before you decide whether a closer look from a ladder at the eave line is warranted.
- Use a camera with strong optical zoom or a telephoto lens to photograph high sections without climbing
- A drone provides the clearest overhead view of the full roof plane and is worth renting or hiring out for significant storm events
- A telescoping inspection pole with a mounted camera works well for capturing eave and fascia damage up close
- Wear non-slip footwear and gloves if you do approach the eave line from a stable ladder
- Never work alone; have someone present who can call for help if needed
Pro Tip: If you are in the Atlanta metro area and are unsure whether your roof is safe to approach, contact a licensed roofing contractor before attempting any inspection. A professional can assess structural integrity and document damage simultaneously.
What types of roof damage photos do insurers actually require?
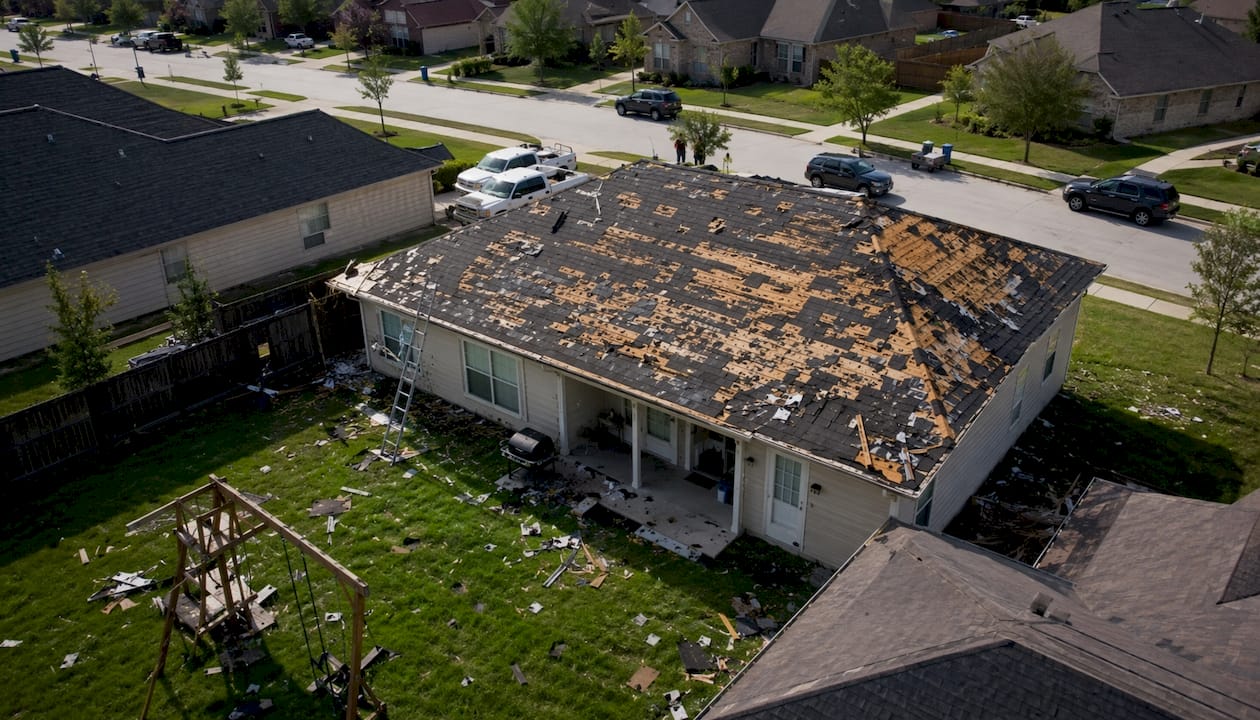
Insurers and adjusters look for a specific pattern of evidence across multiple roof slopes and collateral damage to validate claim intensity. A single close-up of a cracked shingle rarely moves a claim forward on its own. The macro-to-micro approach works best: start wide, then move in with scale references.
Wide-angle and context shots
Photograph all four elevations of your home from the street or property line. These shots establish the overall condition of the roof and give the adjuster spatial context. Include the full roofline, gutters, and any visible debris on the ground.
Close-up damage shots with scale references
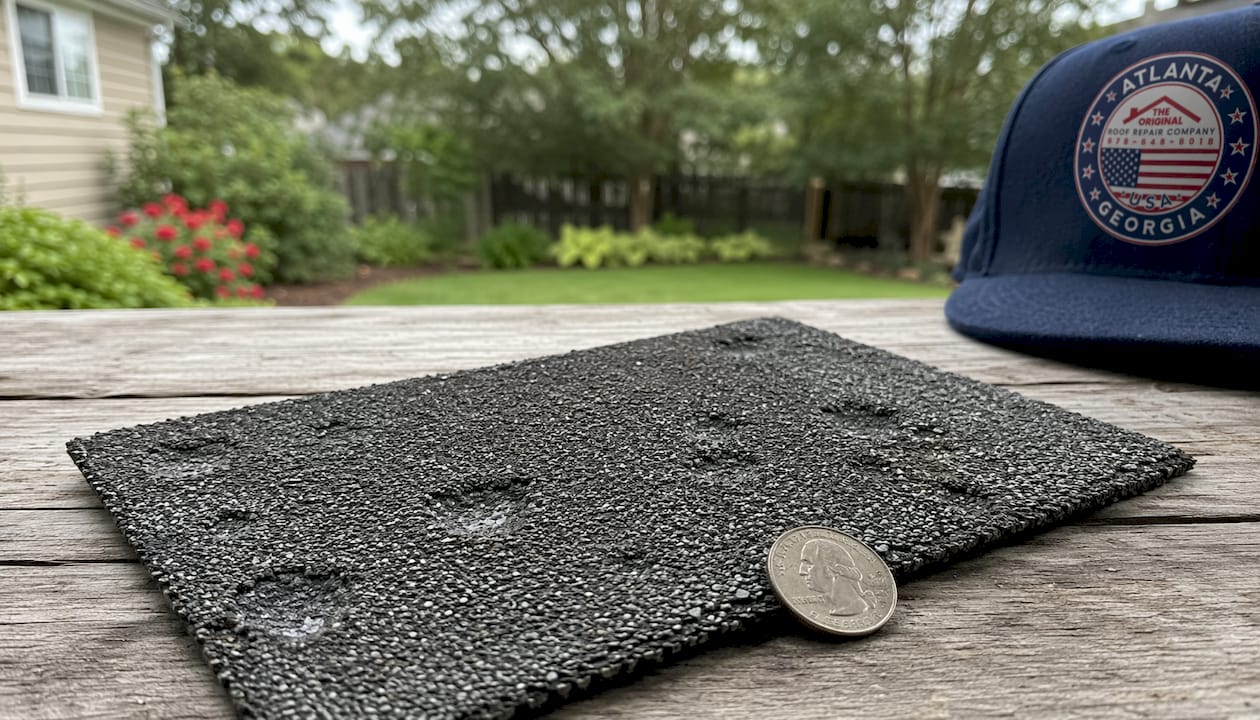
Place a quarter, a ruler, or a standard tape measure next to each damaged area before photographing it. This is especially critical for hail dents on shingles, metal flashing, and soft metals like gutters and downspouts. A dent that looks minor without scale can represent functional damage when measured properly.
Component-specific photos
Cover every major roof component individually:
- Ridge caps and hip ridges for lifting, cracking, or granule loss
- Valleys where two roof planes meet, which concentrate water flow and show wear first
- Pipe boots, vents, and skylights for cracked seals or displaced flashing
- Chimney flashing and step flashing along dormers
- Gutters and downspouts for dents, separation, or granule buildup at the base
Even subtle granule loss visible in gutters can be the deciding factor between a cosmetic damage ruling and a functional hail damage claim. Do not skip this shot.
Interior and collateral damage
Photograph water stains on ceilings, wet insulation in the attic, and any drywall damage that corresponds to the damaged roof sections above. Ground-level evidence such as dented gutters and storm debris confirms storm severity and strengthens the overall claim.
Lighting and camera settings
Shoot under overcast conditions whenever possible. Direct sunlight creates harsh shadows that obscure damage details, and camera flash flattens texture on shingles. Overcast light reveals granule loss, surface cracking, and denting far more clearly. Enable GPS tagging in your phone's camera settings before you start, and confirm your device clock is set correctly so timestamps are accurate.
How to organize and present your documentation for the insurance claim
A disorganized photo dump handed to an adjuster rarely produces a fast or favorable outcome. The goal is a complete, clearly labeled package that tells a coherent story from storm event to structural damage.
Build a written claim log from day one. Record every phone call, email, and in-person interaction with your insurer, including the date, time, name of the representative, and what was discussed. Sending summary emails after each conversation creates a verifiable paper trail that becomes decisive during disputes or delays. This log is not optional; it is your protection if the claim stalls.
Group and label your photos by roof zone. Create folders named by location: "Front Elevation," "Rear Elevation," "Attic Interior," "Gutters," and so on. Within each folder, name files descriptively, such as "front-ridge-cap-hail-dent-quarter-scale.jpg." Adjusters reviewing hundreds of claims per week respond better to organized submissions.
Link damage to the specific weather event. Download the NOAA storm event report for your zip code and date. Include local news screenshots or weather service alerts that confirm hail size, wind speed, or tornado activity on the date of loss. This documentation directly counters any insurer argument that the damage is old or pre-existing.
Preserve original files without editing. Editing or compressing images strips GPS coordinates and timestamp metadata that serve as evidence. Submit original files directly from your device or cloud backup. If you need to share photos digitally, use a file-sharing service that preserves original resolution rather than email compression.
Supplement photos with narrated video. A short video walkthrough narrated as you record provides continuity that still photos cannot. Walk the perimeter, describe what you see, and pan slowly across each damaged section. This format is particularly useful for showing the relationship between a roof penetration and the water stain directly below it on the ceiling.
Submit a complete package. Include contractor estimates, any receipts for emergency tarping or temporary repairs, and pre-storm photos if you have them. The NAIC recommends gathering photos or videos of your home before damage occurs so you have a clear baseline for comparison. If you do not have pre-storm photos, check your phone's camera roll, Google Street View history, or real estate listing photos for dated images of the roof's prior condition.
For guidance on maintaining a written claims log and organizing your submission, The Original Roof Repair Company's insurance claims resources walk through the process step by step.
Expert insights for Georgia homeowners filing roof damage claims
Georgia's weather creates specific documentation challenges. The Atlanta metro area sees hail events, severe thunderstorms, and periodic tornado activity that can produce damage across multiple roof slopes simultaneously. Adjusters working high-volume storm seasons sometimes miss subtle damage, particularly on rear slopes or low-pitch sections that are harder to access.
Have a roofing contractor present during the adjuster inspection. Trained contractors identify hidden damage that adjusters can overlook, including compromised decking beneath intact shingles, cracked flashing that only shows water intrusion under rain conditions, and hail hits on pipe boots. Georgia homeowners who bring a contractor to the inspection typically secure more thorough coverage and fewer supplemental claim cycles. Learn more about why a roofing expert matters during the adjuster visit.
Maintain annual pre-storm photo logs. Photograph your roof every spring and fall, even when no storm has occurred. Annual roof photos prevent insurer disputes over damage origin by establishing a clear, dated baseline. This practice is one of the most effective defenses against a pre-existing damage denial in Georgia, where insurers frequently cite wear-and-tear exclusions on older roofs.
Know the common damage patterns in the Atlanta area. Hail from spring and summer storms tends to concentrate granule loss on south and west-facing slopes. Wind events from the northwest often lift ridge caps and step flashing along dormers. Documenting damage on all slopes, not just the most visible ones, prevents adjusters from arguing that damage is isolated or cosmetic. The types of storm damage covered under Georgia homeowners policies vary by event type, so matching your photos to the right peril matters.
Send written summaries after every adjuster interaction. A brief email confirming what was discussed and agreed upon during the inspection creates accountability. If an adjuster later claims they did not observe certain damage, your dated email record contradicts that position. After a major storm event, also consider documenting any storm debris cleanup with photos before removal, since debris confirms the storm's reach and severity.
Pro Tip: If you need to clear debris from your property before the adjuster arrives, photograph everything in place first. Professional storm debris removal services can help after you have your documentation in order.
Key Takeaways
Thorough, organized photographic documentation is the single most effective tool a homeowner has when filing a roof damage insurance claim.
| Point | Details |
|---|---|
| Safety before photos | Never climb a damaged roof; use optical zoom, drones, or telescoping poles from the ground. |
| Macro-to-micro method | Start with wide-angle context shots, then close-ups with a coin or ruler for scale. |
| Interior evidence counts | Photograph attic leaks, ceiling stains, and drywall damage that corresponds to exterior roof damage. |
| Preserve metadata | Submit original, unedited image files so GPS and timestamp data remain intact for adjusters. |
| The Original Roof Repair Company | Provides insurance claim advocacy and contractor-assisted adjuster inspections for Georgia homeowners. |
What most homeowners get wrong about roof damage documentation
The biggest gap in most homeowners' documentation is not the photos themselves. It is the failure to connect those photos to a specific, dated weather event with supporting records. An adjuster reviewing a folder of close-up shingle photos with no storm report, no NOAA data, and no written claim log has every reason to question whether the damage is new. The photos become evidence only when they are anchored to a verifiable timeline.
There is also a persistent tendency to photograph only the most obvious damage and stop there. A missing shingle is easy to spot. Granule loss in the gutter, a hairline crack in step flashing, or a slightly lifted ridge cap on the rear slope are not. Adjusters are trained to look for patterns across multiple slopes and components. If your documentation only covers the front of the house, you have handed the insurer a reason to minimize the claim.
The written claim log is the piece most homeowners skip entirely, and it is often the one that matters most when a claim stalls. Dates, names, and summaries of every conversation with your insurer create a factual record that is difficult to dispute. Pair that log with a systematic photo set and a NOAA storm report, and you have built a claim file that is genuinely hard to deny. The roof insurance claims process in Georgia rewards homeowners who treat documentation as seriously as the repair itself.
The Original Roof Repair Company documents storm damage so you do not have to fight alone
Photographing your roof after a storm is the right first step. But knowing whether your photos captured every compensable damage point, whether your documentation meets adjuster standards, and whether your claim is being evaluated fairly, that is where most homeowners need real support.

The Original Roof Repair Company provides hands-on roof insurance claim advocacy for homeowners across Cherokee County and the broader Atlanta metro area. The team documents hail, wind, and storm damage directly, attends adjuster inspections on your behalf, and works with carriers to make sure subtle damage does not get written off as cosmetic. If your documentation reveals damage that warrants repair or replacement, transparent pricing and a repair-first approach mean you get an honest recommendation, not an upsell. For urgent situations, emergency roof repair is available to stop active leaks while your claim moves forward. Contact The Original Roof Repair Company to schedule a damage assessment and get your claim started on solid ground.
FAQ
What documentation do I need for a roof damage insurance claim?
You need timestamped, GPS-tagged photos of all damaged roof areas, interior water damage, and collateral evidence like dented gutters, plus a NOAA storm report for the date of loss, a written claim log, and contractor estimates. Original, unedited image files preserve the metadata adjusters rely on.
What should you not say to a roof insurance adjuster?
Avoid speculating about the cause of damage or agreeing that any damage looks "old" or "pre-existing" without your own contractor present. Let your photos and storm documentation speak first, and have a roofing professional identify damage alongside the adjuster.
What does a storm-damaged roof actually look like?
Common signs include missing or lifted shingles, hail dents on soft metals like gutters and flashing, granule buildup at downspout outlets, cracked pipe boots, and lifted ridge caps. Interior signs include ceiling water stains and wet attic insulation directly below damaged roof sections.
What is the 25% rule for roofing in insurance claims?
Some insurers have policies that if a significant portion of a roof's surface is damaged, the entire roof may qualify for replacement rather than partial repair. Coverage terms vary by policy and carrier, so review your specific policy language and confirm the threshold with your insurer before filing.
How do pre-storm photos strengthen a roof damage claim?
Pre-storm photos establish a dated baseline of your roof's condition, making it much harder for an insurer to argue that damage is pre-existing or the result of deferred maintenance. Annual roof photos taken each spring and fall provide the clearest before-and-after comparison when a storm occurs.