
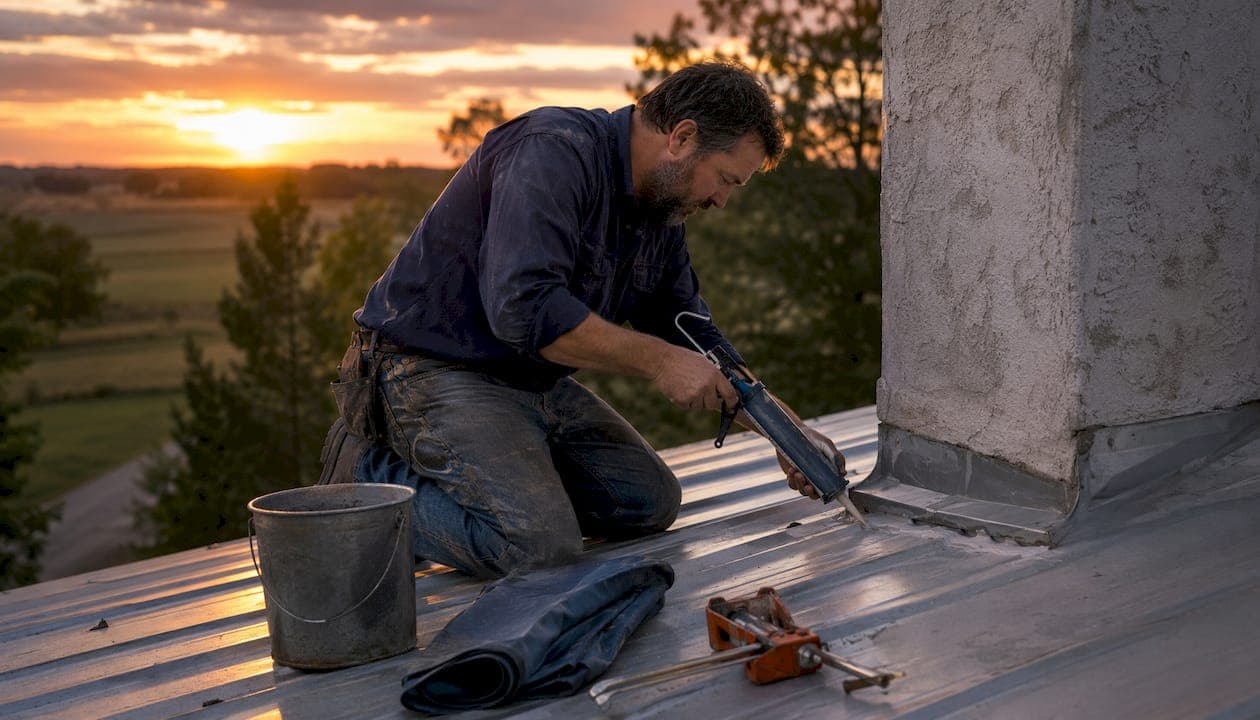
Caulk is a short-term sealing tool, not a structural roof repair. It fills small, stable gaps around vents, pipe boots, and skylight curbs to stop immediate water entry. It does not restore failed flashing, replace damaged shingles, or fix widespread membrane damage. Understanding the role of caulk in roof repair means knowing exactly where it helps and where it creates a false sense of security.
Quick do/don't for homeowners:
- Do use a roof-grade sealant on a hairline gap around a vent pipe or small crack at a skylight curb.
- Do match the sealant chemistry to your roof material before you buy anything.
- Don't caulk over failed flashing or gaps wider than about 1/2 inch without a backer rod.
- Don't treat caulk as a permanent fix. If you've resealed the same spot more than once, that location needs a professional inspection.
Table of Contents
- What roof sealant actually does — and what it doesn't
- How to choose the right caulk type for your roof
- Where caulk belongs on a roof — and where it doesn't
- How to apply caulk correctly: prep, tools, and curing
- Common mistakes that shorten caulk life or hide bigger problems
- Lifespan and cost expectations for caulk repairs
- When caulk is only a temporary fix — signs you need a pro
- Key Takeaways
- Why caulk gets overused — and what that costs homeowners
- The Original Roof Repair Company handles what caulk can't
- Authoritative sources and manufacturer guidance
- FAQ
What roof sealant actually does — and what it doesn't
Roof-grade sealant creates a flexible, weather-resistant bead that bonds to two surfaces across a joint, blocking water entry at that specific point. The key properties are adhesion, elasticity, and UV resistance. Adhesion holds the bead in place through rain and wind. Elasticity lets the bead stretch and compress as roofing materials expand and contract with temperature changes. UV resistance prevents the bead from cracking or chalking under direct sun exposure.
"Roof-grade sealant" is the industry term for products formulated specifically for exterior roofing substrates. Generic exterior caulk sold for windows or trim is not the same product. It typically lacks the elasticity and UV resistance needed for an exposed roof surface.
A useful contrast: sealing the gap where a vent pipe exits through an asphalt shingle field is an appropriate use. The gap is small, the surfaces are stable, and a flexible sealant can bridge it reliably. Applying caulk over a leaking chimney flashing is not appropriate. Many leaks originate from damaged or improperly installed flashing beneath shingles, and sealing the visible wet spot only masks the symptom while water continues traveling underneath.
How to choose the right caulk type for your roof
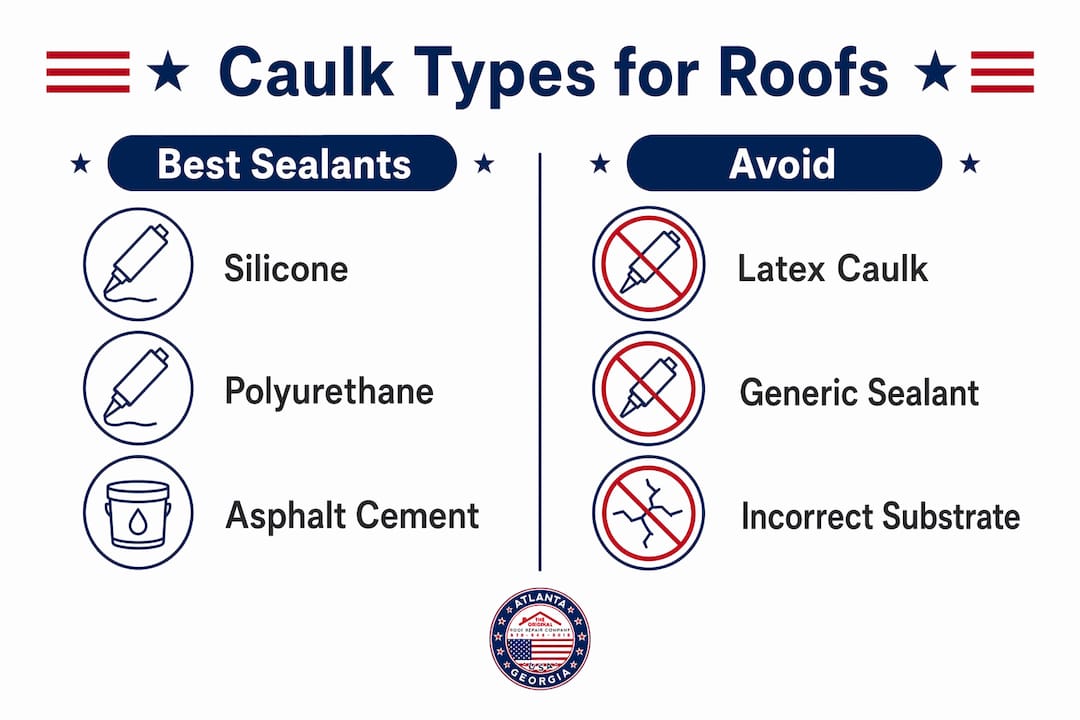
Picking the wrong product is the most common homeowner mistake. Incompatible products can dissolve or damage certain roofing materials and void manufacturer warranties. Here are the four main types and where each belongs:
- Silicone sealant: Excellent UV and weather resistance, stays flexible for years. Best for metal flashings, skylights, and chimney curbs. Silicone may not bond to porous substrates without a primer, so check the product data sheet before applying to masonry or wood.
- Polyurethane (urethane) sealant: High-strength bond to concrete, metal, and asphalt shingles. Handles dynamic joints well and resists abrasion. A good all-around choice for penetrations and flashing edges on asphalt roofs. Slightly moisture-sensitive during application, so surface prep matters.
- Elastomeric sealant: Cures to a rubbery film that stretches with temperature movement. Common on flat roofs, parapets, and skylight bases. Bonds well to porous surfaces and can bridge minor substrate movement. May need a protective coating for long-term UV exposure.
- Asphalt/plastic roof cement: Thick paste useful for emergency shingle patches. Can adhere to slightly damp surfaces, which makes it practical in a pinch. Asphalt cement is considered temporary and less durable under UV exposure — not a permanent solution.
Substrate compatibility at a glance:
| Roof Material | Best Sealant Type | Avoid |
|---|---|---|
| Asphalt shingles | Silicone or polyurethane | Latex caulk |
| Metal flashing/roofing | Silicone or butyl rubber | Asphalt cement |
| EPDM membrane | EPDM-compatible silicone | Polyurethane, asphalt |
| TPO/PVC membrane | TPO-compatible silicone | Butyl, asphalt |
| Masonry/concrete | Polyurethane | Asphalt cement |
Pro Tip: Always read the manufacturer's technical data sheet before purchasing. The substrate compatibility table on the label tells you whether a primer is required and what temperature range is acceptable for application.
Where caulk belongs on a roof — and where it doesn't
Not every roof detail is a caulking candidate. Knowing the difference saves you from a repair that looks done but isn't.
Appropriate uses:
- Pinholes or small cracks around vent pipe collars
- Minor gaps (under 1/4 inch) at skylight curbs
- Fastener touch-ups on metal roofs where screw heads show minor weepage
- Small gaps at the base of a chimney cap where the cap meets the crown
- Hairline cracks in a flat roof parapet where the substrate is otherwise sound
Situations where caulk is not the answer:
- Major flashing separation at a chimney, valley, or wall
- Gaps wider than roughly 1/2 inch without a backer rod to support the sealant
- Lifted or cracked shingles (a sealant bead won't hold a shingle in place long-term)
- Widespread membrane damage on a flat or low-slope roof
- Any location where water is actively pooling or where the substrate is soft
Gap width matters. A joint under 1/4 inch wide can typically be filled with a single bead. For joints between 1/4 inch and 3/4 inch, a backer rod is needed first to give the sealant a backing surface and control the bead depth.
Pro Tip: Press a backer rod (a foam cylinder available at hardware stores) into the joint until it sits about 1/4 inch below the surface. This prevents the sealant from bonding to the bottom of the joint, which would restrict the stretch needed for a durable seal.
How to apply caulk correctly: prep, tools, and curing
Preparation determines whether a sealant lasts one season or several years. Applying sealant to wet or dirty surfaces leads to near-certain failure — even products labeled for damp application require thorough prep for durable adhesion.
Step-by-step application sequence:
- Inspect the area for flashing damage, soft decking, or signs of active water travel. If flashing is compromised, repair or replace it before sealing.
- Remove old sealant with a utility knife and scraper. Don't apply over failing material.
- Clean the surface with a stiff brush or wire brush on metal. Remove dirt, oil, and debris. Wipe with a compatible solvent if the product data sheet recommends it.
- Dry completely. Wait for a dry weather window of at least 24 hours after rain.
- Apply primer if the product data sheet requires it for your substrate.
- Insert backer rod for joints wider than 1/4 inch.
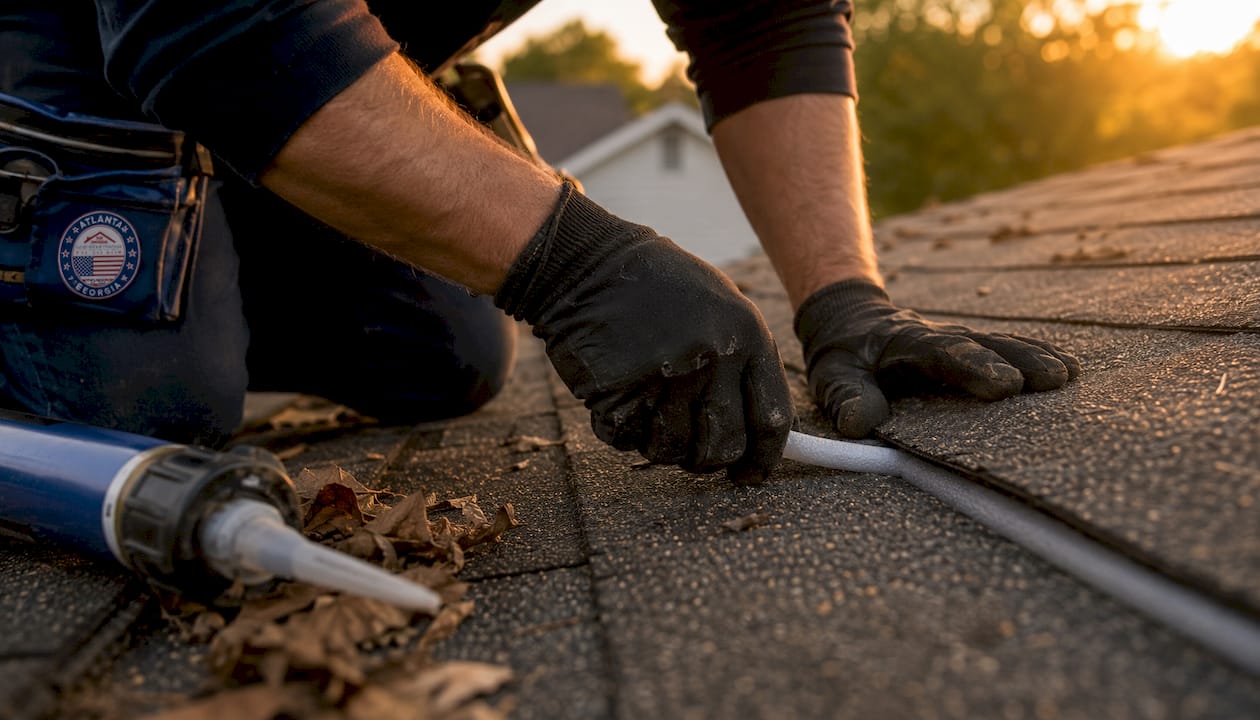
- Apply a continuous bead using a caulk gun with steady, even pressure. Cut the nozzle at a 45-degree angle sized to the joint width.
- Tool the bead within 5 minutes of application to press it into both sides of the joint and create a concave profile.
- Allow full cure before rain exposure. Most sealants are tack-free in 30–60 minutes but reach full cure in 24–72 hours.
Tools and materials checklist:
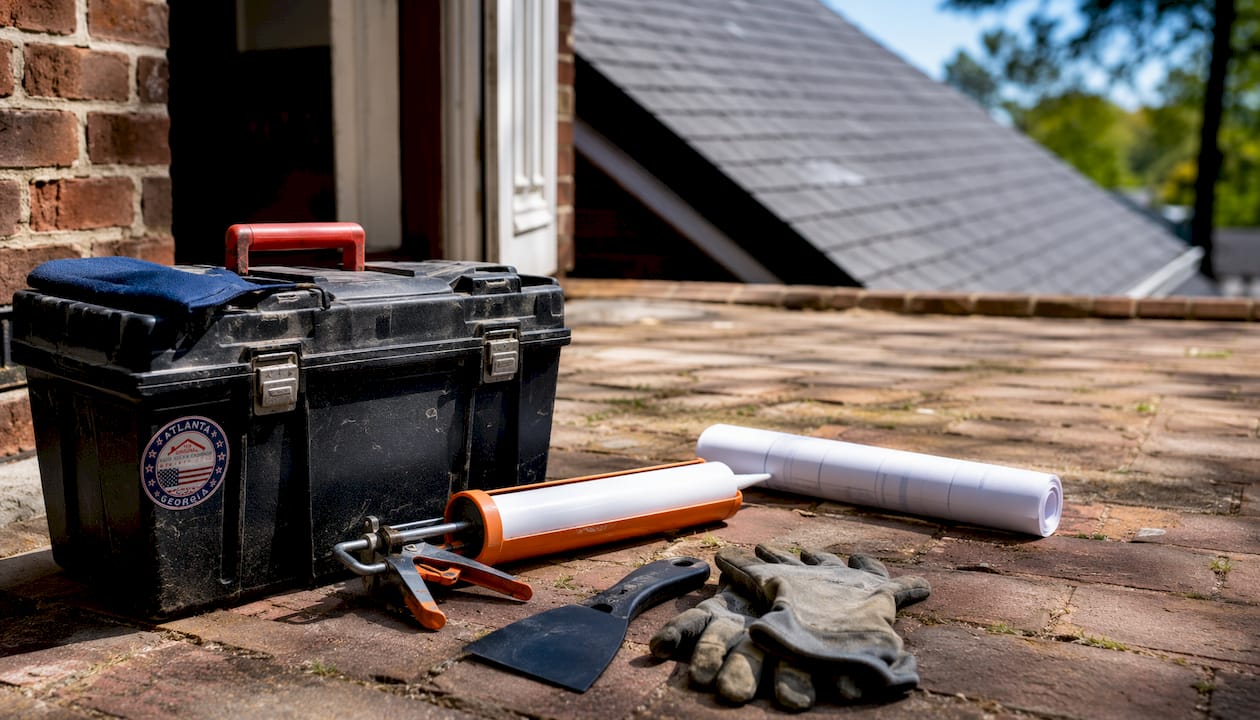
- Caulk gun
- Utility knife and scraper
- Wire brush (for metal surfaces)
- Backer rod (for wider joints)
- Masking tape (for clean edges)
- Compatible cleaner or solvent
- Sturdy ladder with proper fall protection and non-slip footwear
Safety note: Never apply sealant in rain, high winds, or freezing temperatures. Postpone work if the forecast shows rain within 24 hours of your planned application window. Always use fall protection when working at roof height.
Common mistakes that shorten caulk life or hide bigger problems
The most frequent DIY errors don't just reduce longevity. Some make later professional repair harder and more expensive.
- Wrong sealant chemistry: Using a generic latex caulk on an asphalt shingle roof or asphalt cement on a TPO membrane can damage the substrate and void warranties.
- Caulking wet or dirty surfaces: Even a thin film of moisture or dust prevents proper adhesion. This is the single most common cause of early sealant failure.
- Masking flashing failure: Applying caulk over a leaking chimney flashing without addressing the flashing itself is a temporary cosmetic fix. Water continues traveling under the shingles, often reaching attic insulation and structural wood before the interior stain reappears.
- Overfilling joints: Excess sealant can trap moisture behind the bead and cause bubbling or accelerate hidden rot.
- Sealing moving joints with rigid products: Asphalt cement on a joint that experiences thermal movement will crack within one season.
After any major storm, inspect all previously caulked areas. Freeze-thaw cycles and high winds in the Atlanta, Georgia area accelerate sealant fatigue. If a sealed joint shows cracking, peeling, or separation, remove and replace the sealant promptly rather than applying a second layer on top.
Lifespan and cost expectations for caulk repairs
How long a caulk repair holds depends on the product type, the substrate, and the exposure conditions. Here are realistic ranges:
| Sealant Type | Typical Lifespan | Notes |
|---|---|---|
| Asphalt/plastic roof cement | A few months to 1 year | Emergency use only; UV degrades it quickly |
| Elastomeric sealant | 2–5 years | Longer with a UV-protective coating |
| Polyurethane sealant | 3–10 years | Varies with joint movement and sun exposure |
| Silicone sealant | 5–10+ years | On compatible, non-porous surfaces |
On the cost side, a tube of roof-grade sealant typically runs $10–$20 at retail. That makes DIY caulking economical for pinholes and small vent gaps. Professional diagnosis and repair for flashing or decking issues can run several hundred to several thousand dollars depending on the scope. The Original Roof Repair Company recommends professional repair when a repair estimate approaches or exceeds $4,000, at which point replacement often becomes the more cost-effective path.
If you find yourself resealing the same location every year, the cumulative material and labor cost of repeated DIY fixes often approaches the cost of a single professional repair that addresses the root cause.
When caulk is only a temporary fix — signs you need a pro
Caulk has a defined role, and recognizing when you've reached its limits protects your home from hidden damage. The Original Roof Repair Company's repair-first approach starts with honest diagnosis, which means identifying whether a sealant repair is appropriate or whether a structural fix is needed.
Red flags that require professional attention:
- A sealed joint leaks again within one season
- Soft or spongy decking when you press on the roof surface
- Gaps wider than 1/2 inch, especially at chimney or wall flashings
- Visible flashing separation or rust
- Multiple leak paths appearing after a single storm
- Attic insulation that is wet, compressed, or showing mold growth
- Interior staining that reappears in a different location after sealing
In Georgia's climate, wide daily temperature swings during summer cause roofing components to expand and contract significantly. Caulk alone is unlikely to bridge a moving joint long-term. Professionals restore the layered shed-water system and use sealant only for small detail points, not as the primary water management strategy.
A case worth noting: applying caulk over a failing chimney flashing can redirect water rather than stop it. The interior stain disappears temporarily, but water continues traveling along the flashing and into the attic. By the time the stain reappears, insulation damage and early wood rot may already be present.
Pro Tip: Use a roof inspection checklist before deciding on DIY caulking. If you find soft spots, separated flashing, or more than one leak path, call a professional before applying any sealant.
Eric Manly and The Original Roof Repair Company serve Cherokee County and 11 surrounding counties in the Atlanta, Georgia metro area, specializing in the small, specific repairs that larger contractors often decline.
Key Takeaways
Roof-grade sealant is a reliable short-term tool for small, stable gaps, but repeated caulking of the same spot is a diagnostic signal, not a maintenance routine.
| Point | Details |
|---|---|
| Caulk fills small gaps only | Use sealant for gaps under 1/4 inch around vents, skylights, and pipe boots — not for flashing failures or wide separations. |
| Match chemistry to substrate | Silicone for metal and skylights; polyurethane for asphalt shingles; avoid asphalt cement on EPDM or TPO membranes. |
| Prep is non-negotiable | Clean, dry surfaces are required for adhesion; applying to wet or dirty substrates causes near-certain early failure. |
| Repeated resealing = pro call | If the same spot needs caulk more than once, an underlying flashing or structural issue likely requires professional diagnosis. |
| The Original Roof Repair Company | Serves the Atlanta, Georgia metro area with a repair-first approach, honest diagnosis, and flashing repair for issues beyond DIY caulking. |
Why caulk gets overused — and what that costs homeowners
Caulk is inexpensive, available at every hardware store, and produces an immediate visible result. That combination makes it easy to over-rely on. The problem is that a bead of sealant over a failing flashing doesn't just fail to fix the problem. It can actively hide the problem, redirecting water to a new path and delaying a diagnosis until the damage is significantly worse.
The conventional wisdom that "a tube of caulk can fix most roof leaks" is wrong in a specific and costly way. It is true for pinholes and minor vent gaps. It is false for anything involving flashing, shingle damage, or membrane failure. The distinction matters because the cost of repairing hidden rot and soaked insulation is substantially higher than the cost of a straightforward flashing repair done at the right time.
For Atlanta-area homeowners, the temperature swings between summer highs and winter lows add another variable. Sealant that holds through a mild spring can fail by August when thermal expansion stresses the joint beyond the product's elongation limit. A repair-first mindset means choosing the right fix for the actual problem, not the fastest one.
The Original Roof Repair Company handles what caulk can't
When a roof problem goes beyond what a tube of sealant can address, The Original Roof Repair Company provides honest, repair-first service across the Atlanta, Georgia metro area. The company takes on the specific repairs that larger contractors often pass over: flashing failures, chimney drips, boot replacements, and diagnostic inspections for recurring leaks.

Services relevant to homeowners who've reached the limits of DIY caulking include emergency leak patching, flashing repair and replacement, full diagnostic inspections, and roof insurance claims assistance for storm or hail damage. Pricing is transparent, and replacement is only recommended when a repair estimate exceeds $4,000 and replacement is the smarter long-term choice.
If you're dealing with a recurring leak, soft decking, or flashing separation in the Cherokee County area or anywhere within the Atlanta metro, schedule a repair inspection with The Original Roof Repair Company. No pressure, no upselling — just an honest assessment of what your roof actually needs.
Authoritative sources and manufacturer guidance
Before purchasing any sealant or starting a DIY repair, consult these resources directly:
- Rescreening Masters: Caulking for Roof Repair — Practical application guidance covering product selection, prep steps, and maintenance intervals for common roof scenarios.
- Manufacturer Technical Data Sheets (TDS): Every major sealant brand (GE, Sika, Tremco, Titebond) publishes a TDS listing cure times, application temperature ranges, substrate compatibility, and primer requirements. Download the TDS for the specific product you plan to use before opening the tube.
- Roofs.wiki: Roofing Sealants and Adhesives Guide — Industry-level overview of adhesion science, surface prep requirements, and sealant chemistry for common roofing applications.
- New England Metal Roof: Caulk Roof Leak Guide — Covers when repeated caulking signals an underlying problem and how to evaluate whether a professional repair is warranted.
- Local building department: For any repair involving flashing at a chimney or structural penetration, confirm whether a permit or inspection is required in your Georgia county.
When in doubt about product compatibility or the scope of a repair, call a licensed roofing professional before applying any sealant.
FAQ
Will caulk stop a roof leak?
Caulk can stop a roof leak at a small, stable gap around a vent or pipe boot, but it will not fix a leak caused by failed flashing, damaged shingles, or widespread membrane failure. If the same spot leaks again after resealing, the underlying cause needs professional diagnosis.
How long does caulk last on a roof?
Lifespan depends on the product type: asphalt cement typically lasts a few months to one year, polyurethane sealant lasts roughly 3–10 years, and silicone sealant can last 5–10 or more years on compatible surfaces. Exposure, substrate prep, and joint movement all affect how long any sealant holds.
How much does roof caulking cost?
A tube of roof-grade sealant typically costs $10–$20 at retail, making DIY caulking economical for small gaps. Professional flashing repair or diagnostic work can run several hundred to several thousand dollars depending on the scope of the underlying problem.
Why can't you use silicone sealant on every roof surface?
Silicone does not bond reliably to porous substrates like masonry or wood without a compatible primer, and it is not suitable for EPDM or TPO membranes without a membrane-specific formulation. Always verify substrate compatibility on the product's technical data sheet before applying.