
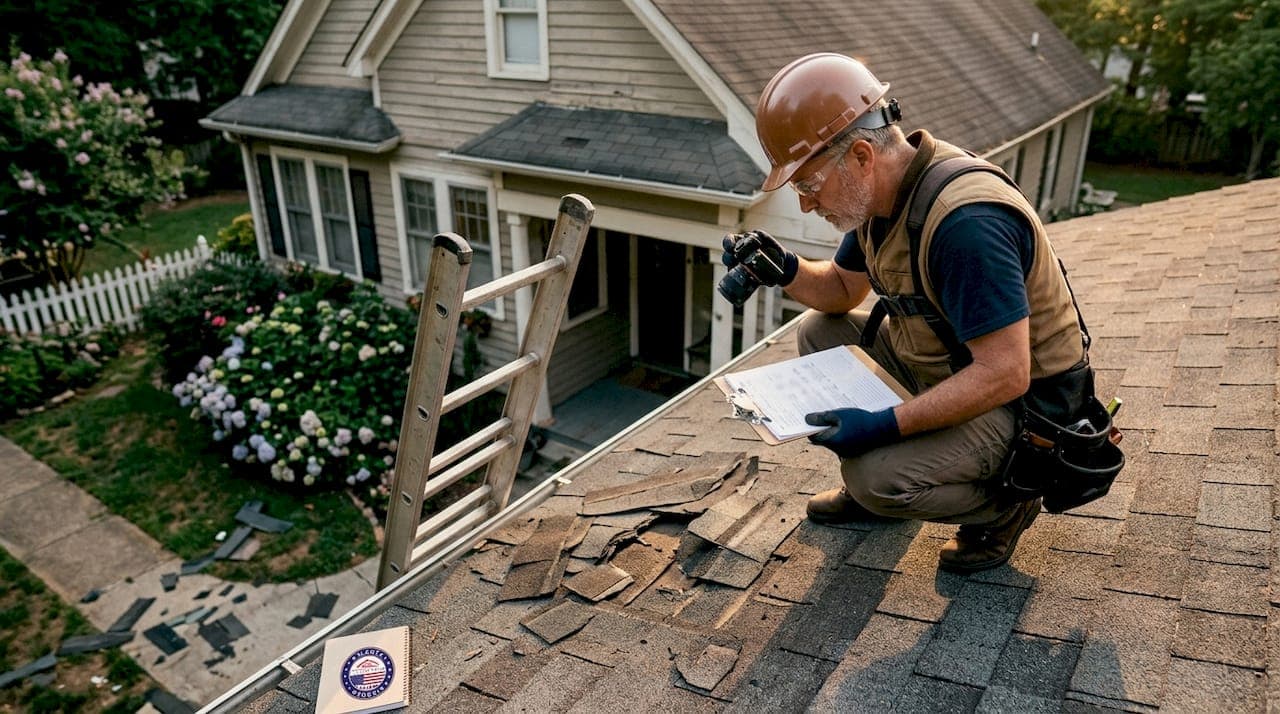
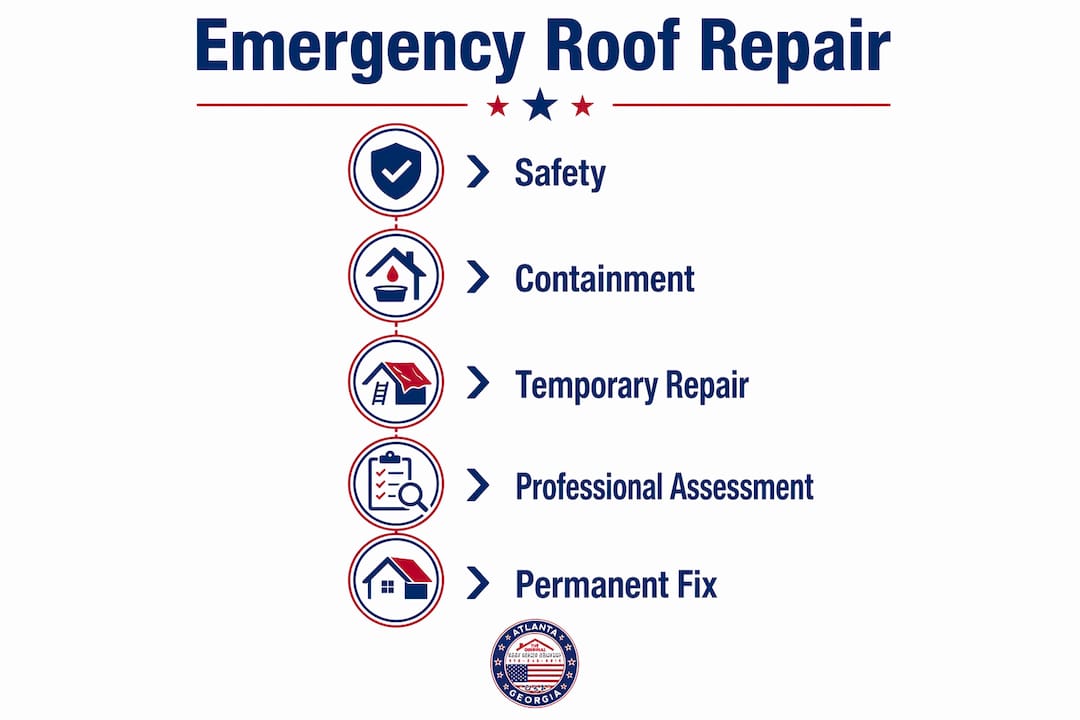
Emergency roof repair is the immediate professional response to sudden roof damage that allows water into your home or exposes structural components to the elements. Understanding how emergency roof repair works gives you a clear plan when panic sets in and every minute counts. The process moves through four distinct phases: safety assessment, interior containment, temporary stabilization, and permanent repair. Knowing what happens at each phase helps you protect your home, your family, and your insurance claim from the moment damage occurs.
How emergency roof repair works: defining the process
Emergency roof repair is the industry term for an urgent, staged response to roof damage that cannot wait for a standard appointment. It differs from routine repair scheduling because the primary goals are safety first, water containment second, and structural stabilization third. Permanent restoration comes last, once conditions allow safe access and materials are sourced. The full repair process typically spans from a same-day emergency call through permanent fixes completed within 3–14 days, depending on damage severity and weather.
The repair-first approach matters here. Not every damaged roof needs full replacement. A professional assessment identifies the actual breach and determines whether targeted repairs can restore the roof's integrity at a fraction of replacement cost.
What qualifies as a roofing emergency?
Not every leak is an emergency. An emergency is defined by active water intrusion into living space, exposed structural framing, or a leak near electrical fixtures. A minor drip collecting in the attic without reaching living areas can typically wait for a scheduled appointment. The following conditions require immediate professional response:
- Active water dripping or streaming into rooms where people live or sleep
- Visible sky through the roof deck after storm damage or fallen trees
- Water pooling near electrical outlets, light fixtures, or ceiling fans
- Sagging or bulging ceiling sections indicating trapped water weight
- Missing large sections of shingles exposing the underlayment or decking
Pro Tip: Never climb onto your roof during a storm, at night, or on wet surfaces. A trained professional has the equipment and experience to work safely under those conditions. Your job is to protect the interior.
Once you confirm an emergency, your first move is not to grab a ladder. It is to get your family and pets to a dry area of the home and shut off electrical breakers in any room where water is near outlets or fixtures.
How to protect your home interior while you wait
Interior containment is the most valuable thing a homeowner can do before a professional arrives. Water damage compounds quickly once it reaches drywall, insulation, and flooring. These steps minimize secondary damage:
- Shut off electrical breakers in affected rooms. Breakers must be off before any water contacts outlets or fixtures to eliminate fire and electrocution risk.
- Place buckets and trash cans under active drips. Line the floor beneath them with plastic sheeting or old towels to catch splash.
- Puncture ceiling bulges carefully. A sagging, water-filled ceiling bubble is under pressure. Puncturing it with a screwdriver releases the water in a controlled stream rather than allowing a sudden collapse that can bring down a large section of ceiling.
- Move and cover valuables. Relocate furniture, electronics, rugs, and documents away from the leak zone. Cover what you cannot move with plastic sheeting.
- Document everything before cleanup. Photograph and video the active leak, damaged ceiling, wet walls, and any exterior damage visible from the ground. This documentation supports your insurance claim and proves you took steps to mitigate damage.
Pro Tip: Take timestamped photos and video on your phone. Insurance adjusters look for evidence that the homeowner acted promptly. A clear visual record of the damage before any cleanup is worth more than any written description.
The goal at this stage is containment, not repair. You are buying time for professionals to arrive safely and assess the full scope of the problem.
Temporary roof repair solutions: professional tarping vs. DIY
Temporary stabilization stops active water intrusion until permanent repairs are scheduled. Professional tarping is the standard method, and the technique matters more than most homeowners realize.
| Method | Approach | Durability | Recommended for |
|---|---|---|---|
| Professional tarping | Furring strips screwed through tarp into roof decking | 30–90 days | All emergency situations |
| DIY tarping | Tarp weighted with bricks or secured with duct tape | Hours to days | Only when professional unavailable |
| Roofing cement patch | Applied to small cracks or exposed flashing | Days to weeks | Minor localized damage |
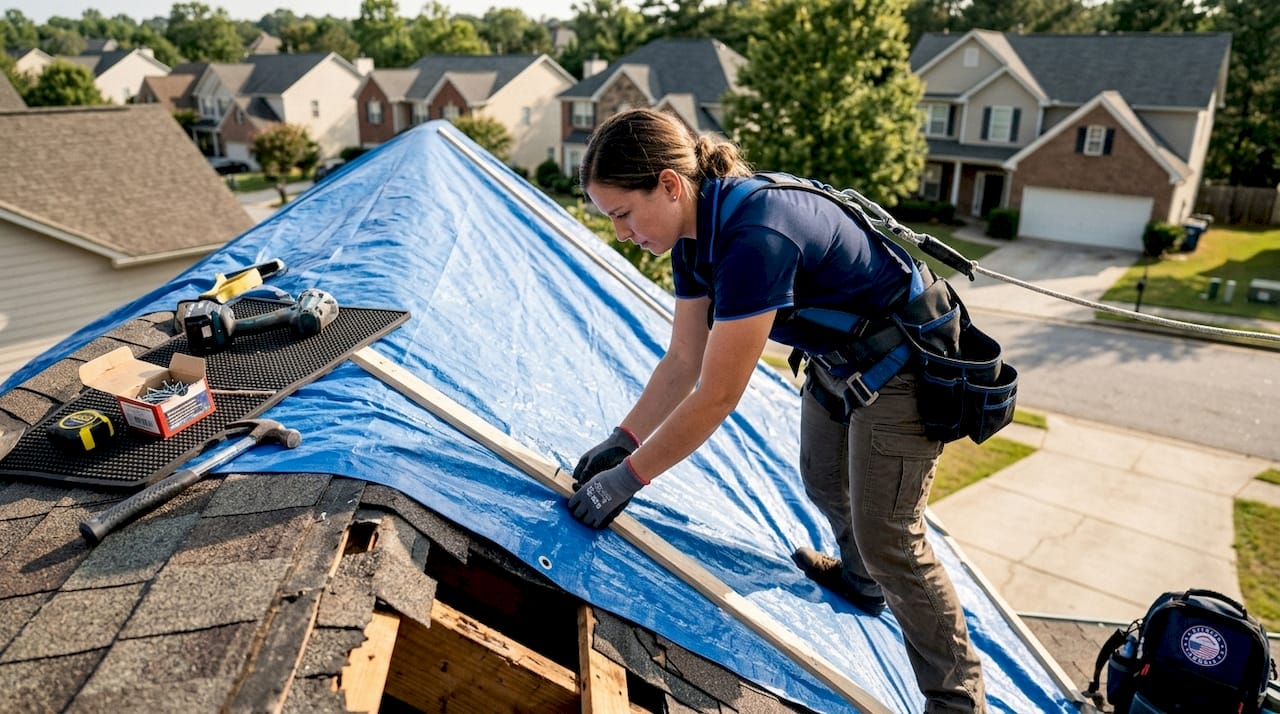
Professional tarping uses wood furring strips screwed directly through the tarp into the roof decking. This creates a mechanical hold that resists wind and rain. Bricks, sandbags, and duct tape fail quickly because they rely on weight and adhesion rather than fastening. A professionally installed tarp costs $400–$900 and typically holds for 30–90 days, giving enough time to schedule permanent repairs and process an insurance claim.
DIY tarping is a last resort when a professional cannot arrive the same day. If you attempt it, work only on a dry, calm day, use a tarp that extends at least 4 feet past the damaged area on all sides, and never walk on damaged sections of the roof. Temporary fixes are triage. They do not address the underlying structural issue and should never substitute for a professional assessment.
How emergency repair scheduling and insurance documentation work
The timeline for emergency roof repair follows a predictable sequence. Initial response runs 2–6 hours from the first call to dispatch and on-site assessment. Same-day stabilization, usually tarping, follows the assessment. Documentation for insurance purposes happens within 24–48 hours. Permanent repairs are scheduled within 3–14 days based on damage extent, material availability, and weather conditions.
Insurance coordination runs parallel to the repair process. Key steps include:
- File your claim immediately. Contact your insurer the same day damage occurs. Most policies require prompt notification.
- Share your documentation. Submit your timestamped photos and video to your adjuster as soon as possible. Your insurance claim documentation should include both interior and exterior damage.
- Get a written repair estimate. A contractor's written assessment supports the adjuster's evaluation and prevents underpayment on the claim.
- Anticipate after-hours fees. Emergency calls outside normal business hours commonly carry additional fees of $150–$300 for urgent dispatch. Factor this into your budget when calling on weekends or late at night.
Contractors experienced in insurance work document damage in the format adjusters expect. This reduces back-and-forth and speeds up claim approval. Theoriginalroofrepaircompany handles this coordination directly, working with carriers and adjusters on the homeowner's behalf so the repair process moves without delays caused by paperwork gaps.
Key Takeaways
Emergency roof repair follows a defined sequence: safety, containment, temporary stabilization, and permanent repair, and skipping any step increases both risk and cost.
| Point | Details |
|---|---|
| Define the emergency first | Active water in living space, exposed structure, or leaks near electrical fixtures require immediate professional response. |
| Interior containment is your job | Shut off breakers, place buckets, puncture ceiling bulges, and document all damage before cleanup begins. |
| Professional tarping outperforms DIY | Furring strips screwed into decking hold for 30–90 days; bricks and duct tape fail within hours. |
| Document before anything else | Timestamped photos and video of all damage support insurance claims and prove prompt mitigation. |
| Budget for after-hours fees | Weekend and nighttime emergency calls typically add $150–$300 to the base repair cost. |
What I've learned after years of emergency roof calls
The single most common mistake I see is homeowners assuming the leak drip is directly below the roof breach. Water travels along rafters and insulation before it drips, sometimes 10–20 feet from the actual entry point. A homeowner who patches the wrong spot wastes money and leaves the real breach open.
The second mistake is attempting roof access during or right after a storm. I understand the instinct. You want to do something. But wet shingles and high winds have put people in the hospital. The interior containment steps described above are genuinely useful and genuinely safe. Climbing a wet ladder in the dark is neither.
The third thing I want homeowners to understand is that a professional assessment is not a sales call. At Theoriginalroofrepaircompany, we diagnose the actual problem first. If a targeted repair fixes it, that is what we recommend. We only suggest full roof replacement when repair costs exceed $4,000 and replacement is the smarter financial choice. That is a policy, not a pitch.
Prioritize your family's safety, protect the interior, document everything, and call a professional. That sequence works every time.
— Eric
Theoriginalroofrepaircompany responds when your roof can't wait
Theoriginalroofrepaircompany serves homeowners across Cherokee County and 11 surrounding counties within a 35-mile radius of Canton, Georgia. When storm damage, a fallen branch, or a sudden leak puts your home at risk, the team responds with same-day assessment, professional tarping, and full insurance claim advocacy.

Theoriginalroofrepaircompany documents damage in the format insurance adjusters require, works directly with your carrier, and recommends only the repairs your roof actually needs. For immediate help with an active leak or storm damage, visit the emergency roof repair page or call to speak with a technician today. BBB accredited, repair-first, and no-pressure.
FAQ
What is considered a roofing emergency?
A roofing emergency involves active water entering living space, exposed roof structure, or a leak near electrical components. Minor attic drips without living-space impact typically do not require emergency response.
How long does emergency roof repair take?
The initial response and temporary stabilization happen the same day. Permanent repairs are typically completed within 3–14 days, depending on damage severity, weather, and material availability.
Can I tarp my own roof during an emergency?
DIY tarping is a last resort and should only be attempted on a dry, calm day. Professional tarping using furring strips screwed into the decking is far more durable and holds for 30–90 days.
Why is the drip inside my home not directly below the roof damage?
Water follows the path of least resistance along rafters, insulation, and sheathing before dripping. The visible interior leak can be 10–20 feet from the actual exterior breach, which is why professional assessment is needed to locate the true source.
Will my homeowner's insurance cover emergency roof repairs?
Most homeowner's insurance policies cover sudden storm or impact damage. Documenting damage with timestamped photos and filing your claim promptly strengthens your case. A contractor experienced in insurance claim coordination can help you submit documentation in the format adjusters require.