
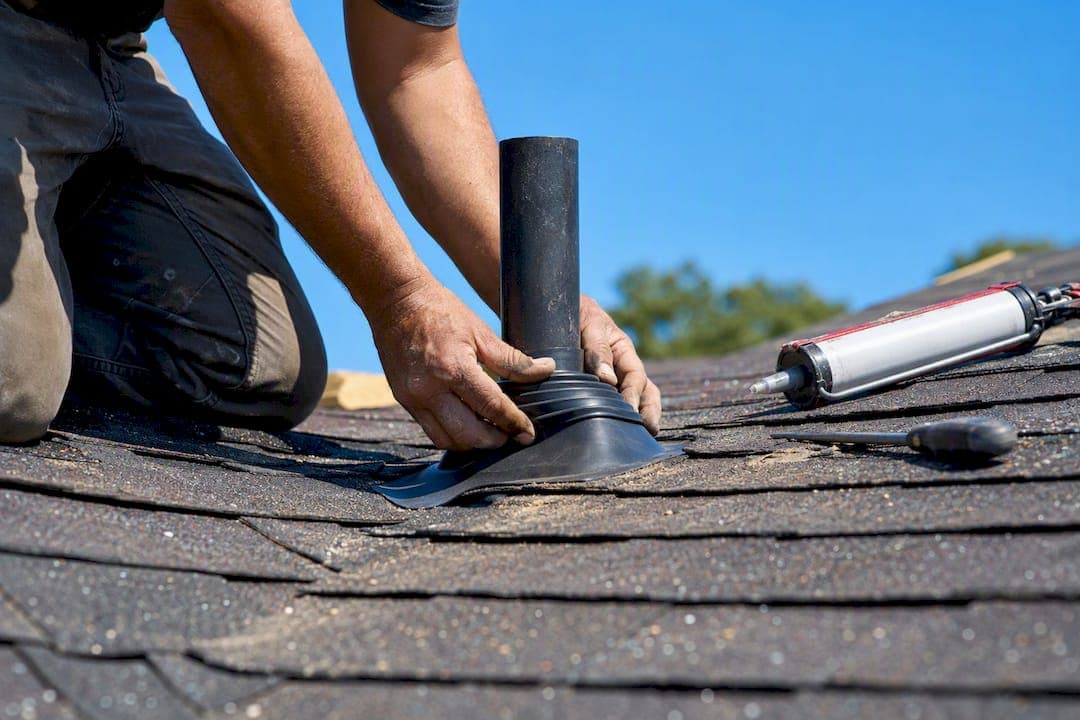
If the collar around your roof vent pipe is cracked, a Perma-Boot retrofit or a new silicone collar fixes it fast and cheap. If the base flange underneath is rusted or the surrounding shingles are brittle, you need a full roof boot replacement from a roofer. And if you're not comfortable on a ladder or your roof pitch is steep, skip the DIY route entirely and call a professional.
Start here:
- Cracked collar, solid base: slip-on retrofit or silicone collar swap, usually done in under an hour.
- Rusted flange or rotted decking: full replacement, ideally by a roofer.
- Steep roof or no comfort with heights: call a pro before you touch a ladder.
Key Takeaways
Most roof vent boot leaks come from a failed rubber collar, not a bad roof, and the right fix depends entirely on whether the base flange underneath is still sound.
| Point | Details |
|---|---|
| Diagnose before buying | Check the attic for wet decking and pipe streaking before choosing a retrofit or full replacement. |
| Match the fix to the damage | A cracked collar needs a retrofit; a rusted base flange needs full replacement. |
| Upgrade the material | Silicone or thermoplastic boots last 20 to 30-plus years versus a fraction of that for basic rubber. |
| Ask for line-item pricing | Request the exact product name and warranty to avoid vague "boot replacement" charges. |
| Call a pro for structural issues | The Original Roof Repair Company offers free Atlanta-area inspections and repair-first pricing before recommending full replacement. |
Table of Contents
- How Do You Know a Roof Boot Is Leaking?
- What Are Your Repair Options?
- What Does Roof Boot Replacement Cost?
- How Do You Replace a Roof Boot Yourself?
- When Should You Call a Professional Instead?
- Why Trust This Guide?
- What the Research Actually Supports
- Get a Free Inspection From a Local, Repair-First Roofer
- Sources
- FAQ
How Do You Know a Roof Boot Is Leaking?
A ceiling stain directly below or near a vent pipe is the clearest sign. Water rarely travels far from where it enters, so a brown ring near a bathroom or kitchen exhaust vent almost always points to the boot above it.
Check the attic before you climb the roof:
- Look for wet or discolored decking around the pipe penetration.
- Follow the pipe down. Streaking on the pipe itself means water is running down it, not just around it.
- Check for daylight visible at the base of the collar. If you can see sky, water is getting in.
- From a ladder (not the roof, if you can avoid it), look for a cracked, curled, or split rubber collar.
The rubber collar on a standard boot typically fails between 8 and 12 years, making it one of the highest-failure-rate parts on an asphalt shingle roof. If your roof is in that age range and you have an unexplained ceiling stain, start your inspection at the vent pipes before you look anywhere else.
Pro Tip: Measure the outside diameter of the pipe before you buy anything. Boots are sized to the pipe, not the roof, and a collar that's even a quarter-inch off won't seal properly no matter how much sealant you use.
What Are Your Repair Options?
Three paths solve a failing vent boot, and each fits a different situation.
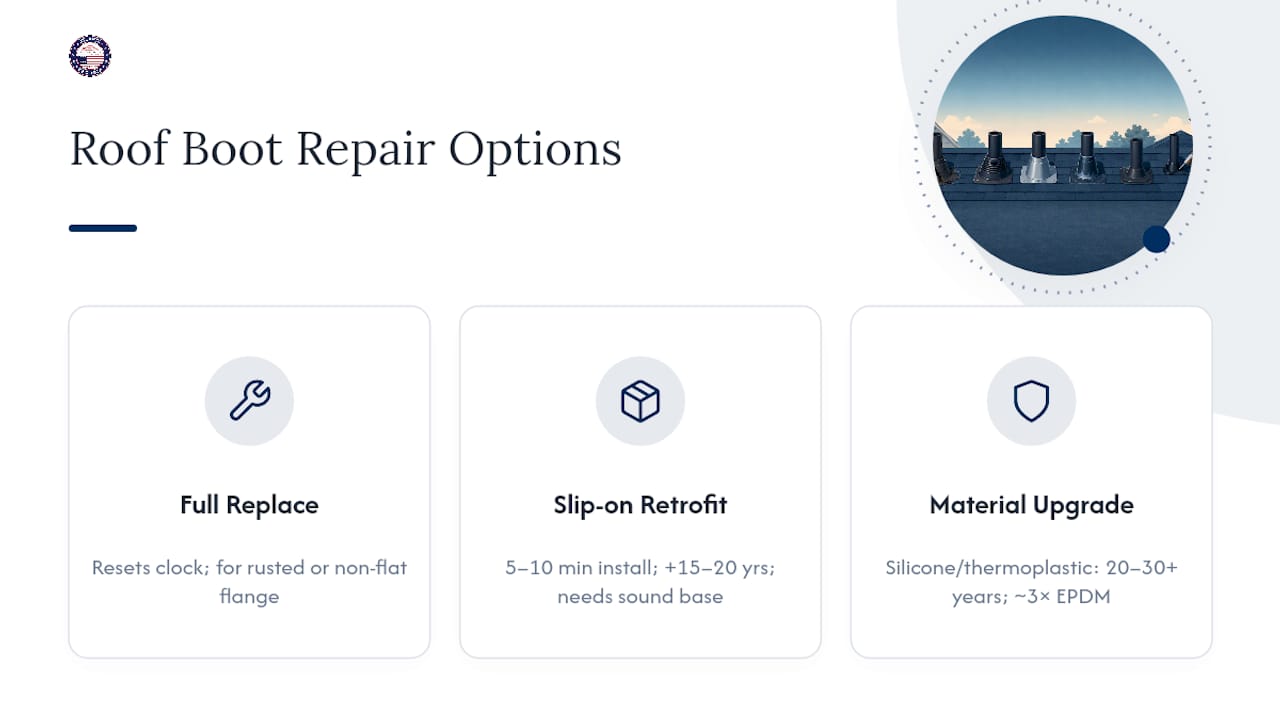
Full base-and-collar replacement tears out the old flashing entirely and installs a new base with a fresh rubber, silicone, or thermoplastic collar. It's the right call when the metal or plastic base flange is rusted, cracked, or no longer sits flat, and it's the only option that fully resets the clock on that penetration.
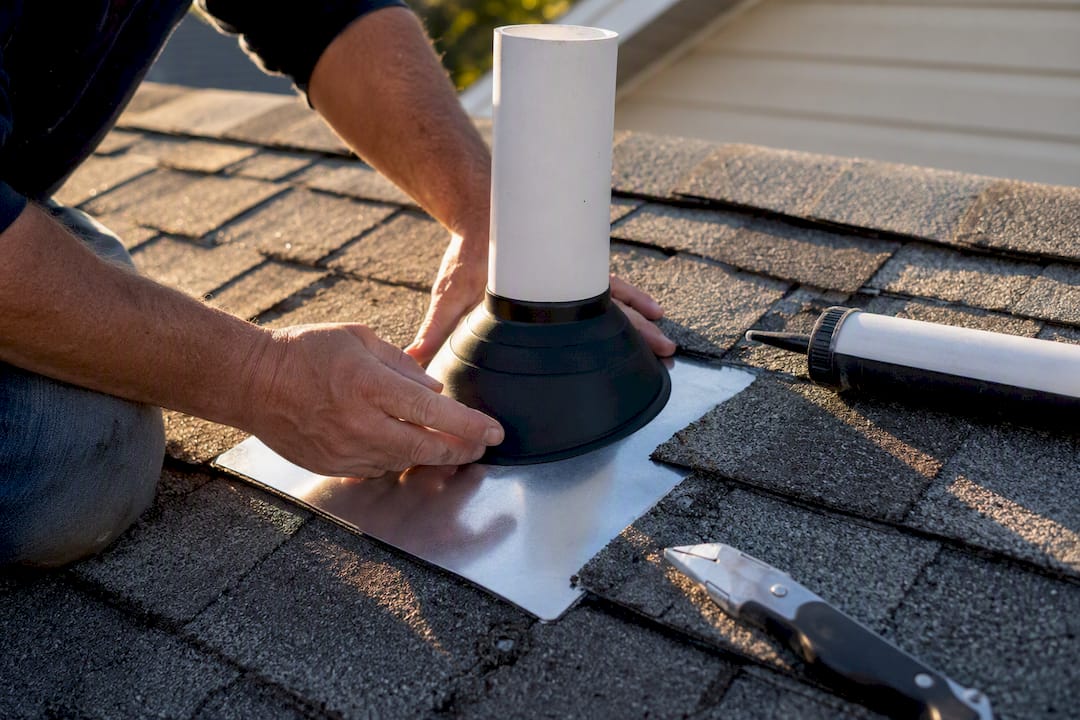
Slip-on retrofit boots, like Perma-Boot, slide directly over the existing collar without disturbing shingles. They install in 5 to 10 minutes and add another 15 to 20 years of service life, but only when the base flange underneath is still sound. Slide one over a rusted or cracked base and you've just hidden the real problem.
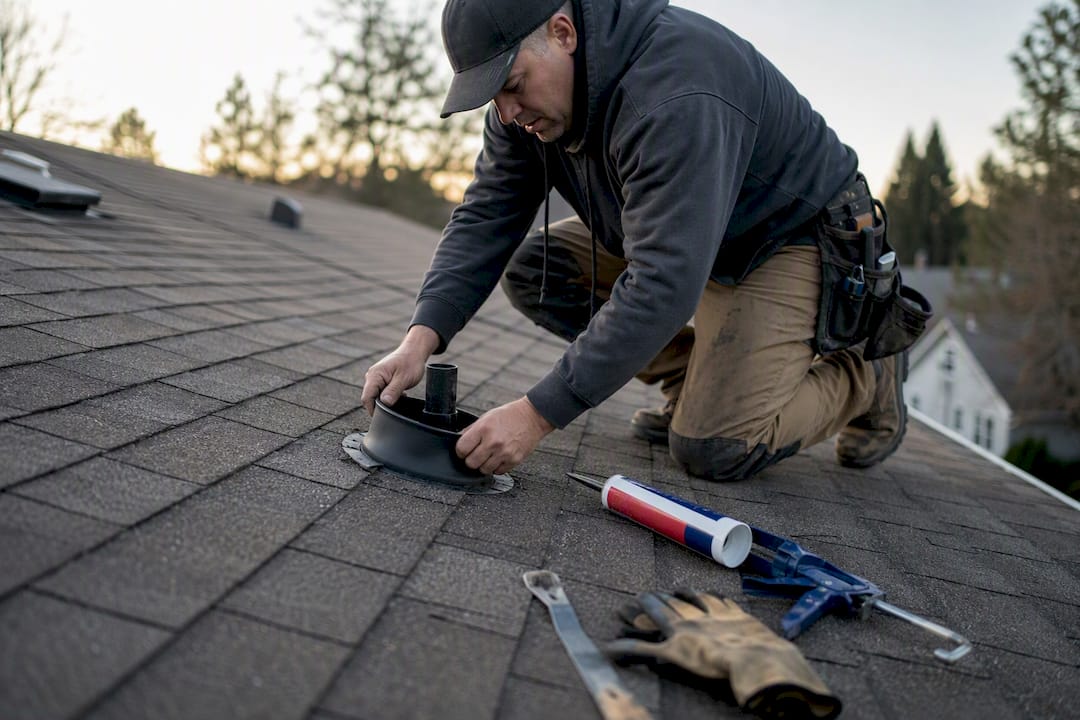
Material upgrades matter more than most homeowners realize. Standard EPDM or neoprene collars degrade under UV and thermal cycling. Silicone and thermoplastic versions, including Oatey Master Flash style products, last 20 to 30-plus years, roughly triple the lifespan of a builder-grade rubber boot for a modest cost difference.
If you're already scheduling a reroof, replacing every boot at the same time is almost always the smarter move. The labor crew is already on the roof, and the added material cost is small next to the price of a repeat leak two years later.
What Does Roof Boot Replacement Cost?
Material costs are modest. A basic replacement boot runs $15 to $35 at a hardware store, and a Perma-Boot style slip-on retrofit retails for $20 to $40. Labor is where the range widens.
- DIY installed cost: $15 to $80, mostly materials plus sealant and nails you may already own.
- Pro-installed retrofit: $80 to $200 per boot, depending on roof access and region.
- Pro full replacement: $150 to $450 per boot, which covers tearing out old flashing, resealing shingles, and disposal.
A single emergency fix on one boot usually lands at the low end of these ranges. Multiple boots replaced during a reroof cost more in total but far less per boot, since the crew is already set up on the roof.
When you get a quote, ask for line-item pricing per boot, the exact product name being installed, and a written warranty. A vague line item that just says "vent boot replacement" without naming a product is a common markup trap worth pushing back on.
How Do You Replace a Roof Boot Yourself?
Before anything else: don't work alone on a roof, don't climb a wet or icy roof, and skip the DIY project entirely if your pitch is steep or your shingles are brittle with age. A fall risk isn't worth saving $150.
Tools and materials you'll need:
- Flat pry bar or shingle ripper
- Roofing nails
- Polyurethane roofing sealant (not standard silicone caulk)
- Correctly sized replacement boot
- Roofing cement, if the manufacturer calls for it
- Rubber-soled shoes and a stabilized ladder
Full replacement steps:
- Gently lift the shingles above the boot with the pry bar, working from the top down so you don't crack them.
- Pull the nails holding the old flashing and remove the failed boot.
- Clean the decking and check for rot or soft spots before installing anything new.
- Slide the new base under the upslope shingle row and over the downslope row, matching the original layering.
- Nail the flange per the manufacturer's pattern, then seal nail heads and edges with polyurethane sealant.
- Reseat the lifted shingles and check the attic after the next rain to confirm the fix held.
Retrofit installation steps (if the base flange is sound):
- Remove the cracked rubber collar if the product requires it.
- Slide the clamshell-style retrofit boot down over the pipe and existing base.
- Lock or clamp it per the product instructions.
- Seal the top edge as directed.
- Check the attic and ceiling below after the next rain.
Common mistakes worth avoiding: buying a collar sized to the roof penetration instead of the actual pipe diameter, piling on caulk instead of properly nailing and layering the flashing, reusing a base flange that's already rusted through, and cracking brittle shingles by forcing the pry bar instead of working slowly. A flashing repair done right depends more on correct layering under the shingles than on how much sealant you use.
When Should You Call a Professional Instead?
Some situations aren't DIY territory, no matter how comfortable you are with a caulk gun. Call a roofer when the base flange is rusted through, when you find rotted decking under the boot, when several boots are failing at once, when the roof pitch is steep or the shingles are too brittle to walk safely, or when storm damage and an insurance claim are part of the picture.
When you're vetting a contractor's estimate, ask three things: what exact product they're installing (not just "a new boot"), what warranty backs the work, and whether they include ice and water shield or decking repair in the price, or bill it separately.
Watch for these red flags in a written quote:
- A line item that just says "boot replacement" with no product name attached.
- Language suggesting the crew reuses old boots during a reroof instead of replacing them.
- No written warranty on the labor or the material.
A contractor who won't name the product they're installing usually can't tell you why it's the right one for your roof.
Why Trust This Guide?
The Original Roof Repair Company was founded by Eric Manly and has spent four years fixing exactly this kind of problem across Canton, Cherokee County, and the surrounding counties in the Atlanta metro area. The company is BBB accredited and built its reputation on a repair-first philosophy: it fixes the boot, the flashing, or the leak in front of it rather than pushing an unnecessary full roof job.
- Free inspections identify whether a boot needs a quick retrofit or a full flashing and boot replacement.
- Full roof replacement is only recommended when repair costs exceed $4,000, keeping smaller leaks affordable to fix.
- For storm-related damage, the team documents wind and hail issues and works directly with insurance adjusters on the homeowner's behalf.
What the Research Actually Supports
Most advice on vent boot repair treats every fix as equally valid, and that's where it goes wrong. A Perma-Boot retrofit is genuinely a good product, but it's a patch, not a cure, if the base flange underneath has already rusted through. The conventional wisdom skips that distinction constantly, and it's why so many homeowners end up paying for the same leak twice.
The judgment this guide actually supports is simple: match the fix to the failure, not to whichever product is cheapest at the hardware store. A cracked collar on a sound base is a $20 retrofit. A rusted base flange is a full replacement, full stop, and no amount of sealant changes that math.
What gets overrated is caulk. What gets underrated is checking the attic first, before you ever climb onto the roof. If you take one thing from this guide, prioritize diagnosis over speed. Fixing the wrong problem fast is still the wrong problem.
— Eric
Get a Free Inspection From a Local, Repair-First Roofer
If you've confirmed a leaking boot but don't want to spend a Saturday on a ladder, The Original Roof Repair Company gives Atlanta-area homeowners a faster, lower-risk path than the DIY steps above: a free inspection, an honest diagnosis, and a repair quote that names the exact product going on your roof.

The company's repair-first approach means it fixes the boot, the flashing, or the leak in front of it rather than defaulting to a full roof replacement. Full replacement only gets recommended when repair costs pass $4,000, so a single failing vent boot stays a small job with a small price tag. For homeowners dealing with an active leak right now, the emergency roof repair service gets someone on the roof fast, with transparent, itemized pricing and no vague line items to decode. Schedule a free inspection today and find out exactly what your roof needs before you spend a dollar on materials.
Sources
For deeper detail on failure rates, pricing, and product specifics, see TRB's roof vent pipe boot guide, Owl Roofing's silicone boot breakdown, and Nest Exteriors' flashing overview.
- Roof Vent Pipe Boot: Failure Point & Replacement | TRB
- Roof Vent Pipe Boots in Minnesota: The #1 Silent Roof Leak
- Pipe Boot Repair for 3 in. I.D. Vent Pipe Black Color
- Perma-Boot PermaBoot Black Plastic Vent and Pipe Flashing
FAQ
How much does it cost to replace roof boots?
Materials alone run $15 to $40 depending on the product. Professional installation runs $80 to $200 for a retrofit or $150 to $450 per boot for a full replacement.
How long should a roof pipe boot last?
Standard rubber collars typically fail between 8 and 12 years, while silicone or thermoplastic upgrades can last 20 to 30-plus years.
My roof vent pipe boot is leaking. How can I fix it?
If the base flange is intact, a slip-on retrofit like Perma-Boot seals it in minutes. If the base is rusted or the shingles around it are brittle, full replacement is the safer, longer-lasting fix, and The Original Roof Repair Company offers free inspections across the Atlanta area to confirm which one you need.
What are the common problems with roof boots?
The rubber collar cracks and splits from UV exposure and temperature swings, the base flange rusts or lifts, and undersized or mismatched collars fail to seal against the pipe.
How do I choose the right size roof boot?
Measure the outside diameter of the vent pipe, not the roof opening, and match that measurement to the boot's rated pipe size range before buying.