
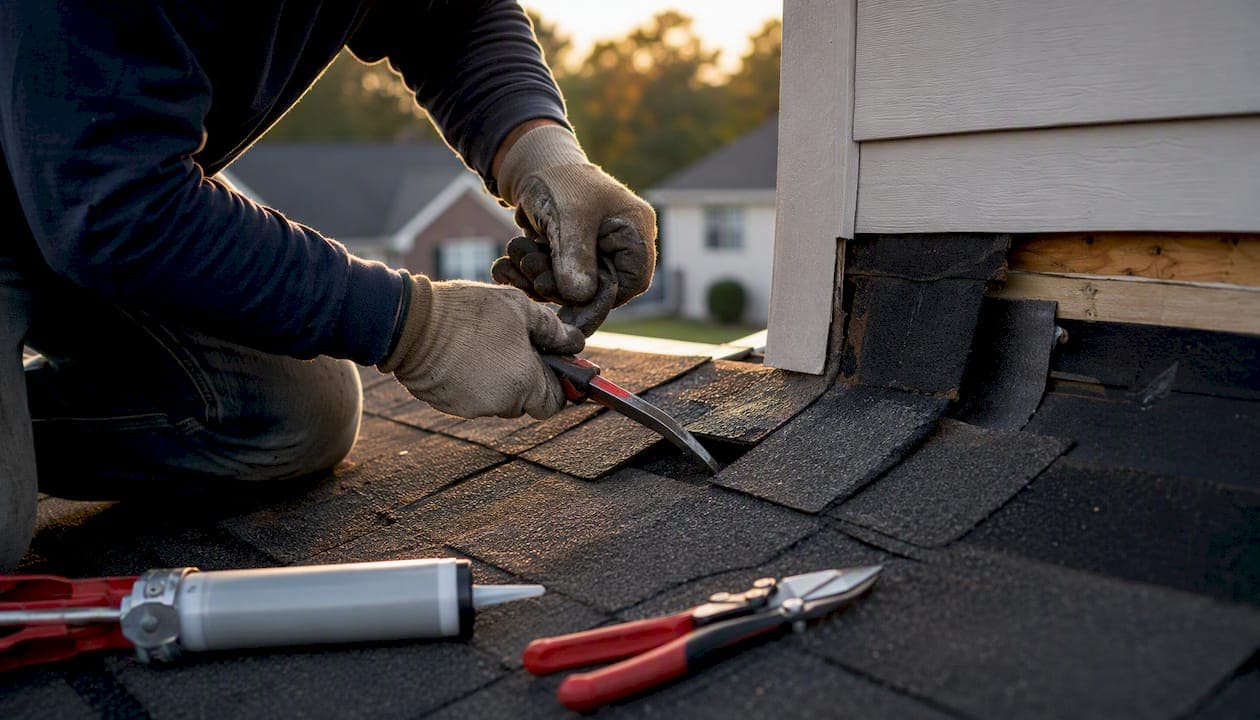
Most flashing leaks can be repaired without replacing the entire roof. According to contractor sources citing NRCA data, a large majority of roof leaks originate at flashing details rather than the shingle field itself, which means a targeted repair often solves the problem completely. Whether you tackle it yourself or call a licensed roofer depends on three factors: where the leak is, how steep and high your roof is, and whether the metal and decking underneath are structurally sound.
Start here before anything else:
- Go into the attic with a flashlight and look for water stains, damp insulation, or daylight. Mark the wet spot and trace it uphill toward the nearest penetration (chimney, vent, wall).
- If you find active dripping near an electrical fixture, or if the decking feels soft underfoot, stop and call a professional.
- Apply a temporary tarp or roofing cement patch from the exterior only if conditions are safe and the roof is accessible from a single story.
DIY is reasonable when the leak is isolated to one flashing assembly, the roof pitch is walkable (roughly 6:12 or less), and the metal shows no heavy corrosion or structural rot. Call a licensed roofer for chimney counterflashing embedded in mortar, second-story steep roofs, wall-cavity involvement, extensive corrosion, or any rot in the decking.
Key Takeaways
Targeted flashing leak repair solves the majority of residential roof leaks without requiring full replacement, provided the decking is sound and the repair cost stays below $4,000.
| Point | Details |
|---|---|
| Most leaks start at flashing | a large majority of roof leaks originate at flashing details, not the shingle field. |
| DIY materials cost $300 repair | A professional targeted repair averages $300–$450; extensive repairs cost substantially more. |
| Use polyurethane, not silicone | Silicone separates from asphalt and metal; polyurethane sealants last 5–10 years. |
| Know when to stop and call a pro | Rot in decking, chimney mortar work, steep roofs, and recurring leaks require a licensed roofer. |
| The Original Roof Repair Company | Serves the Atlanta, Georgia metro area with repair-first inspections and replacement only when repair exceeds $4,000. |
Table of Contents
- What is roof flashing and where does it go?
- How do you spot flashing failure before it gets worse?
- What tools and materials do you need for a flashing repair?
- Safety rules you must follow before climbing on the roof
- Step-by-step flashing leak repair: a practical DIY sequence
- When should you hire a licensed roofer instead of doing it yourself?
- How much does a flashing repair cost?
- How do you prevent flashing leaks and keep them from coming back?
- The Original Roof Repair Company's repair-first approach and what to expect when you call
- Why repair-first work is worth defending
- Ready to stop the leak? Here is how to get help fast
- Sources
- FAQ
What is roof flashing and where does it go?
Flashing is thin metal or rubber sheeting installed at every joint, transition, and penetration on a roof. Its job is to direct water away from gaps where two surfaces meet, because those gaps are exactly where water finds its way in. Without properly installed flashing, even a perfect shingle field will leak at a chimney base, a dormer wall, or a pipe boot.
The common types you will encounter on a residential roof:
- Step flashing: Individual L-shaped pieces installed one per shingle course where a sloped roof meets a vertical wall (dormers, additions). Each piece overlaps the one below it, creating a stair-step waterproof layer.
- Counterflashing: A second layer of flashing that overlaps step flashing at chimneys and masonry walls. It is typically embedded into mortar joints or cut into the masonry itself.
- Valley flashing: Runs along the V-shaped channel where two roof planes meet. Open valleys use exposed metal; closed valleys hide it under shingles.
- Drip edge: An L-shaped metal strip installed along eaves and rakes to direct water off the roof edge and away from the fascia. Drip edge repair is often overlooked but prevents fascia rot.
- Kickout flashing: A small diverter piece at the bottom of a step-flashing run that kicks water away from the wall cladding. Missing kickout flashing is one of the most common causes of wall-cavity water damage.
- Pipe boot (vent flashing): A rubber or metal collar that seals around plumbing vent pipes. Neoprene boots typically last 10–15 years before the rubber cracks.
- Skylight flashing: Integrated head, sill, and step flashing around skylight frames; saddle (cricket) flashing diverts water around wide chimney bases.
Materials matter. Galvanized steel is the most common and affordable option. Aluminum is lightweight but reacts with copper and treated lumber, accelerating corrosion. Copper is the most durable and longest-lasting, preferred for chimneys and high-end applications. Lead is flexible and long-lasting but increasingly avoided due to environmental concerns. Flashing fails mainly from sealant deterioration, corrosion, thermal movement, and improper installation, so matching the replacement metal to the existing assembly prevents galvanic corrosion down the line.
How do you spot flashing failure before it gets worse?
Flashing problems announce themselves in predictable ways. Catching them early keeps a $300 repair from becoming a $3,000 decking replacement.
Interior warning signs:
- Brown or yellow ceiling stains, especially near chimneys, skylights, or exterior walls
- Damp or compressed attic insulation directly below a penetration
- Mold or mildew smell in the attic or upper rooms
- Water streaks running down wall sheathing or along rafters (the entry point is almost always higher than where the stain appears)
Exterior warning signs:
- Lifted, bent, or missing flashing pieces along a wall or chimney
- Cracked, dried-out, or missing sealant at flashing edges
- Rust staining or visible pitting on metal surfaces
- Missing kickout flashing where a roof slope meets a sidewall
- Gaps between counterflashing and masonry
Running a controlled hose test is the most reliable way to pinpoint a leak when visual inspection is inconclusive. Have one person in the attic with a flashlight while another runs a garden hose slowly over the roof, starting low and working uphill in sections. Soak each zone for two to three minutes before moving up. This method works well for isolated penetrations but is less useful on complex roofs with multiple potential entry points. Never run a hose test in freezing temperatures or on a roof with known soft spots.
Pro Tip: Before calling for an estimate, photograph every exterior flashing assembly from the ground and from a ladder if safe. Capture the full run of step flashing, the kickout termination, and any visible sealant gaps. Those photos speed up the diagnostic process and serve as documentation for insurance claims.
What tools and materials do you need for a flashing repair?
Gathering the right materials before you climb is not just about efficiency. Using incompatible sealants or the wrong metal is the most common reason a DIY repair fails within a season.
Experienced contractors consistently choose polyurethane roofing sealants over silicone for metal-to-roof transitions because silicone separates from asphalt shingle granules and metal surfaces. Geocel 2300 is one widely used polyurethane option. Silicone may look fine for a few months, then peel away entirely. For the role of caulk and sealant in a broader repair context, the guide on caulk in roof repair covers the limitations in detail.
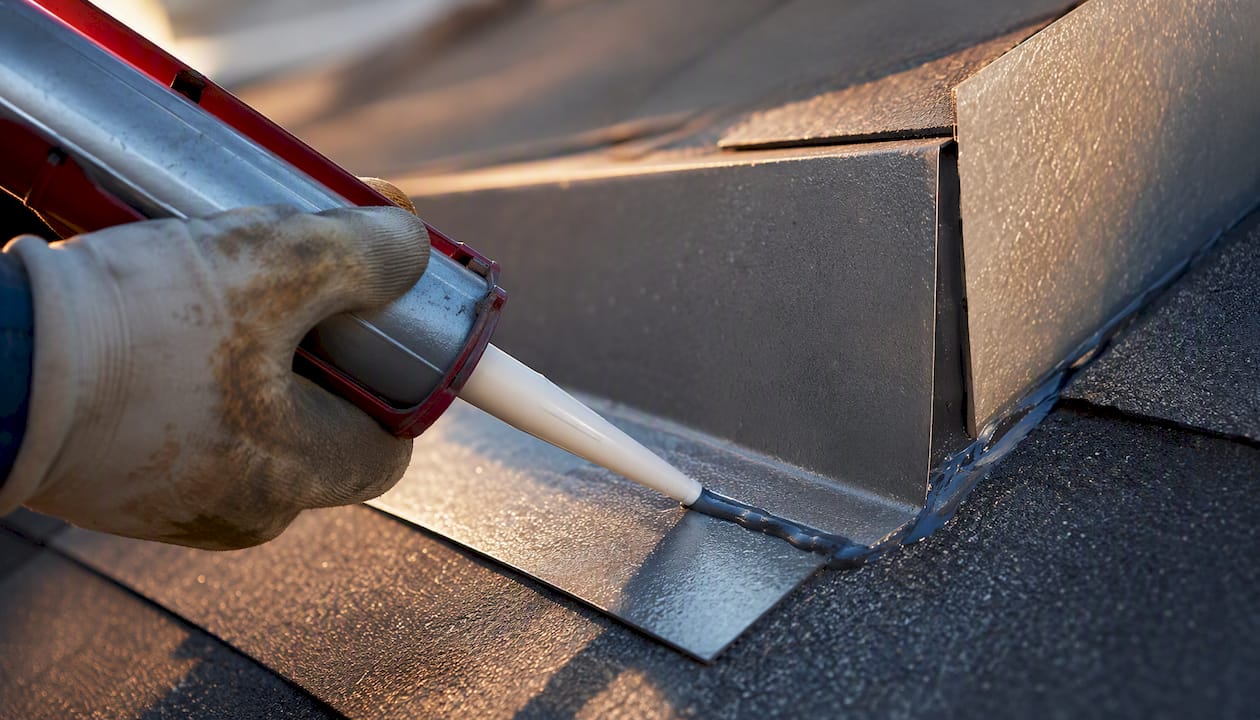
Pro Tip: In coastal Georgia or any area with high humidity and salt exposure, use stainless steel or copper fasteners. Standard galvanized nails corrode faster in those conditions, and a loose nail is a future leak.
Safety rules you must follow before climbing on the roof
Ladder and fall incidents are the primary hazard in any roof work. Never work alone on a steep or multi-story roof, and never climb in wet, icy, or high-wind conditions.
Before you set foot on the roof, confirm every item on this list: Roof pitch is 6:12 or less and you can walk it comfortably without sliding. Weather is dry, calm, and above 40°F. You have rubber-soled shoes and work gloves. A second person is on the ground and knows where you are. A roof harness is rigged if pitch exceeds 4:12. The ladder is stabilized with standoffs and extends at least three feet above the eave. You have confirmed no soft spots or rot from the attic before climbing.
Stop and call a professional if any of these apply:
- The roof is two stories or higher with a steep pitch
- Active water is dripping near electrical wiring or panels
- You find soft, spongy decking when you probe from the attic
- The chimney mortar is crumbling and counterflashing is embedded in it
- You are not comfortable at height or have no fall protection
The CDC reports that falls from ladders are among the leading causes of construction-related injuries and fatalities in the United States. That statistic applies to homeowners just as much as to tradespeople. When in doubt, the cost of a professional repair is far less than a hospital visit.
Pro Tip: Set your ladder on firm, level ground and use a ladder standoff (also called a ladder stabilizer) to keep the top away from the gutter. A ladder leaning directly on a gutter can slip sideways without warning.
Step-by-step flashing leak repair: a practical DIY sequence
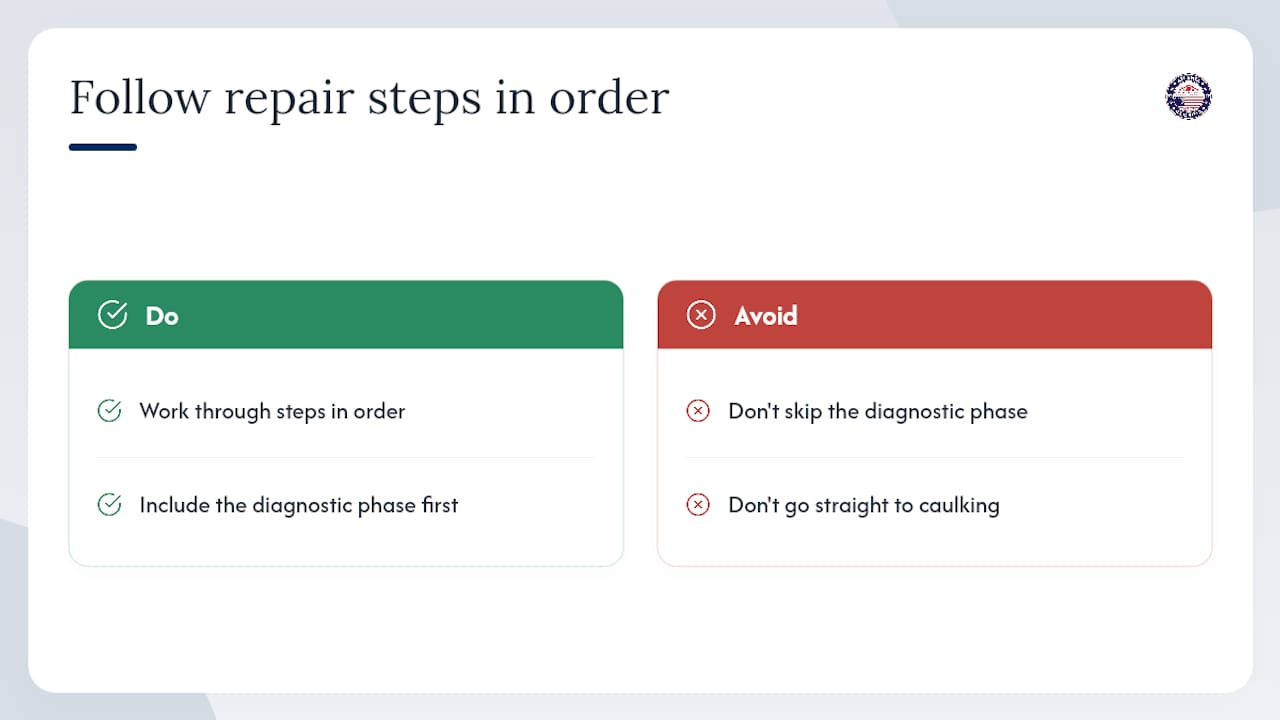
Work through these steps in order. Skipping the diagnostic phase and going straight to caulking is the single most common reason homeowners end up with the same leak three months later.
Step 1: Trace the leak from the attic (15–30 minutes)
Go into the attic during daylight or with a strong flashlight. Find the wet stain or damp insulation and trace the moisture uphill along the rafters. The actual entry point is almost always higher than the visible stain. Mark the suspected penetration with chalk or a nail driven up through the decking so you can find it from the exterior.
Step 2: Inspect the exterior flashing assembly (15–20 minutes)
From the exterior, locate the marked penetration. Photograph the full flashing assembly before touching anything. Look for lifted pieces, missing sealant, rust, or gaps between the flashing and the wall or pipe.
Step 3: Remove shingles to access the flashing (20–40 minutes)
Use a pry bar to carefully lift the shingles overlapping the flashing. Work slowly to avoid cracking brittle shingles. Remove roofing nails with the flat end of the pry bar. Set shingles aside in order so you can reinstall them in the correct sequence.
Step 4: Clean and inspect the decking (10–15 minutes)
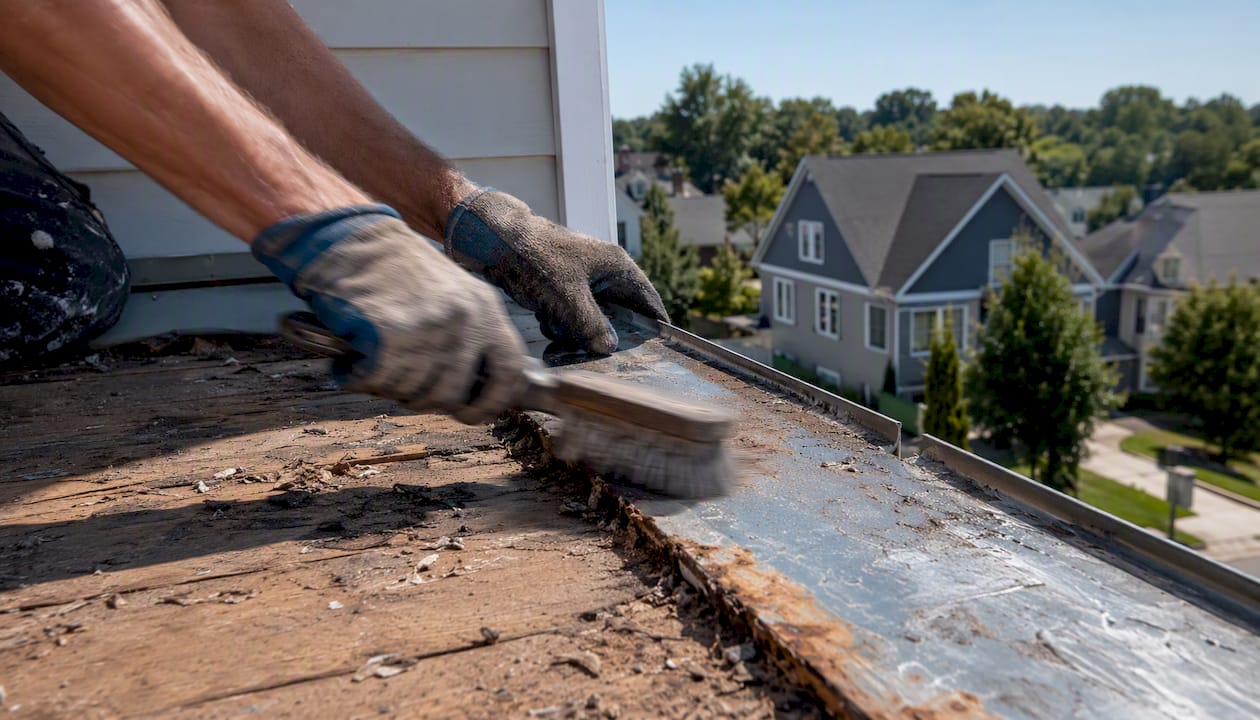
With the flashing exposed, use a wire brush to remove old sealant, rust, and debris. Press on the decking with your hand. Any soft or spongy area means rot is present. Stop here if you find rot and call a licensed roofer. Continuing over rotten decking produces a repair that will fail again.
Step 5: Remove and replace the flashing (30–60 minutes)
Pull out the old flashing. Cut replacement pieces to match, using tin snips. For step flashing, install one piece per shingle course, nailing high on the vertical leg so the nail is hidden under the next course. Never nail through the bottom horizontal leg. For pipe boots, slide the new neoprene or EPDM boot over the pipe, press the base flat against the decking, and nail the corners. Install a layer of ice-and-water shield beneath the new flashing where the original underlayment has been disturbed.
Correct repair is mechanical and layered, not caulk-first. Sealant is a tertiary measure applied after the physical flashing is correctly installed and integrated with the shingles.
Step 6: Seal and integrate with shingles (15–20 minutes)
Apply polyurethane roofing sealant only at the flashing-to-wall seam and at any exposed nail heads. Use self-adhesive flashing tape to seal overlapping joints on flat sections. At chimneys, use roofing cement where the flashing meets masonry. Reinstall shingles in the original sequence, nailing them at the correct nail line.
Step 7: Test the repair (30–60 minutes)
Run a garden hose over the repaired area for at least five minutes while a second person watches from the attic. Start below the repair and work uphill. No dripping means the repair is holding. Monitor the attic after the next two to four rain events before considering the job complete.
Common DIY mistakes to avoid:
- Using silicone sealant instead of polyurethane. Silicone separates from asphalt granules and metal, often within 18–36 months.
- Nailing through the bottom horizontal leg of step flashing. That nail is exposed to water and will eventually leak.
- Relying on caulk alone without replacing the physical flashing. Caulk-only fixes on improperly installed flashing are a leading cause of recurring leaks.
- Skipping the ice-and-water shield layer beneath new flashing.
Step-by-step repair checklist:
- Attic trace complete, entry point marked
- Exterior assembly photographed before work begins
- Shingles removed and set aside in order
- Decking inspected, no rot found
- Old flashing removed, metal cleaned
- New flashing installed with correct nailing
- Ice-and-water shield installed beneath flashing
- Polyurethane sealant applied at seams only
- Shingles reinstalled in correct sequence
- Hose test passed, attic monitored
When should you hire a licensed roofer instead of doing it yourself?
Some flashing problems are genuinely beyond DIY scope, and attempting them without the right tools or experience typically makes them worse.
Call a licensed roofer when:
- Decking or sheathing shows rot or soft spots
- Counterflashing is embedded in chimney mortar and the mortar is crumbling
- Multiple flashing assemblies are failing at the same time
- The same leak has returned after two or more repairs
- The roof is steep, high, or both
- You need documented damage photos for an insurance claim
- The repair estimate approaches or exceeds $4,000, at which point replacement is often the more cost-effective path
What to expect from a professional inspection:
- A full roof walk with attic access and moisture mapping
- Photographs of every failing assembly, documented for insurance if needed
- A written estimate that separates labor, materials, and any decking repairs
- A clear repair-versus-replacement recommendation with reasoning
- A warranty on the repair work
When evaluating a quote, look for itemized line items rather than a single lump sum. Ask specifically whether the price includes flashing replacement or only sealant. Ask what warranty covers the labor. A contractor who recommends full replacement on a roof where only one flashing assembly has failed deserves a second opinion.
How much does a flashing repair cost?
DIY materials for a sealant or patch repair run a moderate cost range, while a targeted professional repair typically costs more. Larger repairs involving decking replacement or multiple assemblies cost substantially more.
Main cost drivers:
- Roof height and pitch (steeper and higher costs more in labor)
- Roofing material (tile and slate require more care than asphalt)
- Number of penetrations involved
- Type of flashing metal (galvanized is cheapest; copper is most expensive)
- Whether decking repair is needed
- Warranty length offered
Questions to ask any contractor before signing:
- Is flashing replacement included, or only sealant?
- What is the warranty on labor and materials?
- Will you document damage for my insurance carrier?
- What triggers a replacement recommendation rather than repair?
How do you prevent flashing leaks and keep them from coming back?
Prevention costs far less than repair. A consistent inspection schedule catches sealant failures and lifted flashing before water has a chance to reach the decking.
Annual and post-storm inspection checklist:
- Clean gutters and downspouts so water drains freely and does not back up under the drip edge
- Inspect all visible sealant at flashing edges for cracking, shrinkage, or separation
- Check that step flashing pieces are lying flat and none are lifted or bent
- Verify kickout flashings are present and intact at every wall termination
- Look for rust staining on metal surfaces, which signals active corrosion
- Trim tree branches that overhang the roof and deposit debris on flashing
- Photograph every flashing assembly and date the photos for your records
Georgia-specific seasonal notes: Spring storms in the Atlanta metro area bring high winds and hail that can lift flashing and dent metal. Inspect after every significant storm event. Summer heat in Georgia accelerates sealant brittleness, so check sealant condition each August before the fall rain season. While Georgia does not experience the severe freeze-thaw cycles of northern states, regional weather including wind, UV exposure, and occasional ice events still accelerates sealant failure, particularly on south-facing slopes that cycle between hot and cold rapidly.
For storm-related damage, The Original Roof Repair Company's weather alert and storm response service helps Atlanta-area homeowners know when to request a post-storm inspection.
Pro Tip: Polyurethane roofing sealant typically lasts 5–10 years depending on sun and weather exposure. Mark the date of application on a piece of tape inside the attic. When you see that date approaching, schedule a proactive re-seal before the sealant cracks and water finds the gap.
The Original Roof Repair Company's repair-first approach and what to expect when you call
The Original Roof Repair Company operates on a straightforward principle: repair the problem that exists, not the one that generates the largest invoice. Targeted flashing repairs are recommended whenever the assembly is structurally sound and the repair cost stays below $4,000. Replacement becomes the right call only when repair costs exceed that threshold or when the overall system condition makes repair impractical. That threshold is stated upfront, not discovered after the work is done.
The company serves Canton, Cherokee County, and 11 surrounding counties within a 35-mile radius of the Atlanta, Georgia metro area. Homeowners in communities across the region can request a free inspection without any obligation.
What you get from an inspection:
- A full roof walk and attic moisture check
- Documented photographs of every failing or suspect flashing assembly
- A written estimate with itemized labor and materials
- A clear repair-versus-replacement recommendation with the reasoning explained
- Insurance-claim documentation and direct advocacy with your carrier if storm or hail damage is involved
Why repair-first work is worth defending
Most homeowners who call about a leak expect to hear that they need a new roof. That expectation is understandable, because a lot of contractors lead with replacement. But the data does not support that recommendation in most cases. The vast majority of residential leaks trace back to a single flashing failure, a cracked pipe boot, or a missing kickout diverter. Those are targeted, fixable problems.
The repair-first philosophy is not about avoiding larger jobs. It is about honesty. When a homeowner in the Atlanta area calls about a drip near their chimney, the right answer is to inspect the counterflashing, check the mortar joints, and determine whether a targeted repair stops the leak. If it does, that is the recommendation. If the decking underneath has rotted through and the repair estimate climbs past $4,000, replacement is the honest answer at that point.
One job that illustrates this well: a homeowner in Cherokee County had been told by two contractors that the entire rear slope of their roof needed replacement because of a persistent leak near a dormer. The actual problem was a missing kickout flashing at the base of the dormer wall and failed step flashing on three courses. The repair took less than a day and cost a fraction of a full replacement. The homeowner documented the repair with before-and-after photos, which later supported their insurance claim when hail damage occurred the following spring.
Document every repair. Keep before-and-after photos with dates. That record protects you at resale and strengthens any future insurance claim.
Ready to stop the leak? Here is how to get help fast
When the leak is active, the roof is steep, or the damage involves a chimney or wall cavity, a free professional inspection is the fastest path to a real solution. The Original Roof Repair Company provides free inspections and emergency roof repair across the Atlanta, Georgia metro area, including Cherokee County and 11 surrounding counties.

Before the inspection visit, have these items ready: photos of interior stains with dates, notes from your attic check, the date you first noticed the leak, and your homeowner's insurance policy information if storm or hail damage may be involved. The Original Roof Repair Company handles insurance documentation and works directly with carriers and adjusters on your behalf, so you do not have to navigate that process alone.
For non-emergency repairs and estimates, the roof repair service page outlines the full repair-first process, warranty details, and service area. All repair work comes with transparent pricing and a written estimate before any work begins.
Sources
- What Is Roof Flashing and Why It Fails (NJ Guide)
- Roof flashing repair (The Roofing Brief)
- Flashing Repair vs. Replacement: When to Choose Each Option
- Roof Flashing Failures | Big Dog Roofing
FAQ
What causes most roof flashing leaks?
Flashing leaks most often result from sealant deterioration, corrosion, thermal movement, and improper installation such as incorrect step-flashing sequencing or relying on caulk instead of mechanically layered metal. Sealants typically begin to crack within 5–10 years depending on climate exposure.
Can I fix a flashing leak myself?
Yes, when the leak is isolated to a single accessible assembly, the roof pitch is 6:12 or less, and the decking shows no rot. Use polyurethane sealant rather than silicone, replace the physical flashing rather than caulking over it, and test with a hose before considering the job done.
How much does professional flashing leak repair cost?
A targeted professional repair typically costs $300–$450 for a straightforward assembly. Chimney counterflashing, step flashing replacement, or any decking repair pushes costs higher, sometimes to $500–$1,500 or more depending on scope.
When does a flashing repair become a full replacement?
Replacement is the better choice when multiple assemblies are failing, the decking has widespread rot, or the repair estimate exceeds $4,000. The Original Roof Repair Company uses that $4,000 threshold as the point where replacement becomes the more cost-effective recommendation.
How often should I inspect my roof flashing in Georgia?
Inspect at least once a year, plus after every significant storm. In the Atlanta metro area, spring hail and high-wind events are the most common triggers for flashing damage, so a post-storm check each spring is the single highest-value maintenance habit a homeowner can build.